You like pork that tastes like salt and pepper and sugar and spice and smoke. I like that too.
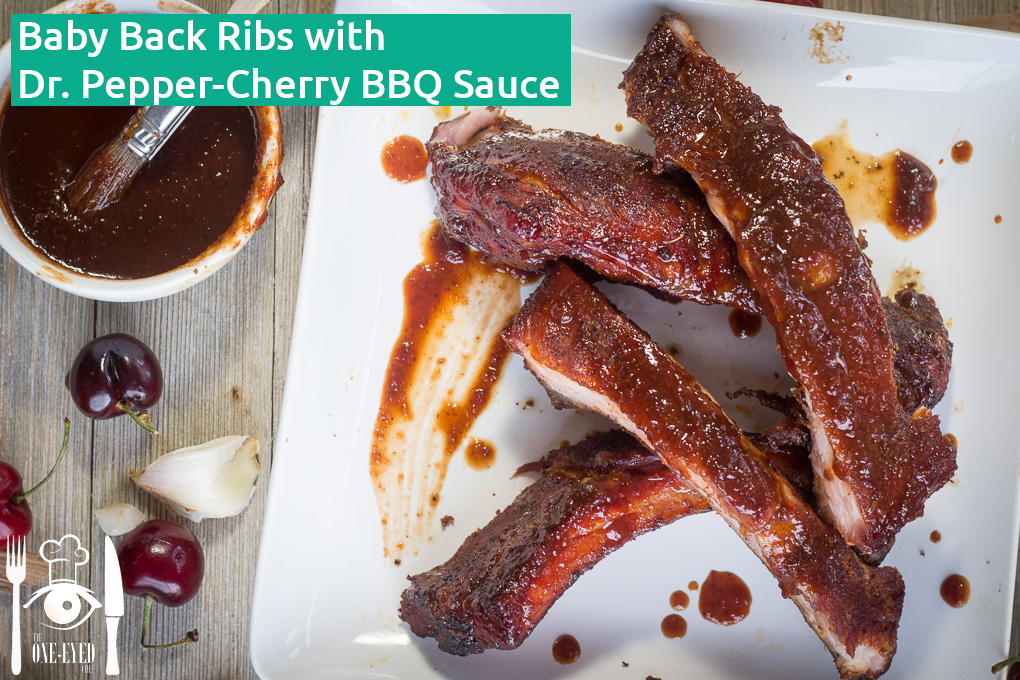
Memorial Day was 12 days ago now, and we did like a lot of American families did: cooked meat outdoors and then ate way too much of it. We fired up the smoker, got some baby back ribs down, crafted our own delightful barbecue sauce, and waited for magic to happen. A few hours later, the house smelled like a campfire, our fingers and shirts were covered in sauce, and our bellies were joyously full.
Then….. writer’s block. I sat for over a week trying to find the best way to describe how delightful these ribs were. I thought of great back stories, searched for interesting trivia tidbits, sang the Chili’s Baby Back Ribs song to myself about 54 times (“Barbecue Sauuuuce”), and generally tried to construct great content that would conjure up images and memories of all the amazing ribs you’ve eaten in your life. Nothing worked.
This morning, I asked my wife to tell me some interesting things about ribs. Her reply:
They taste really good.
It’s the truth. Plus, it’s her recipe, so I really have no reason not to go with her thinking. Great ribs don’t need a back story. We all know they’re incredible, and if you decide you want to make these ones, then I’ll tell you how to do it.
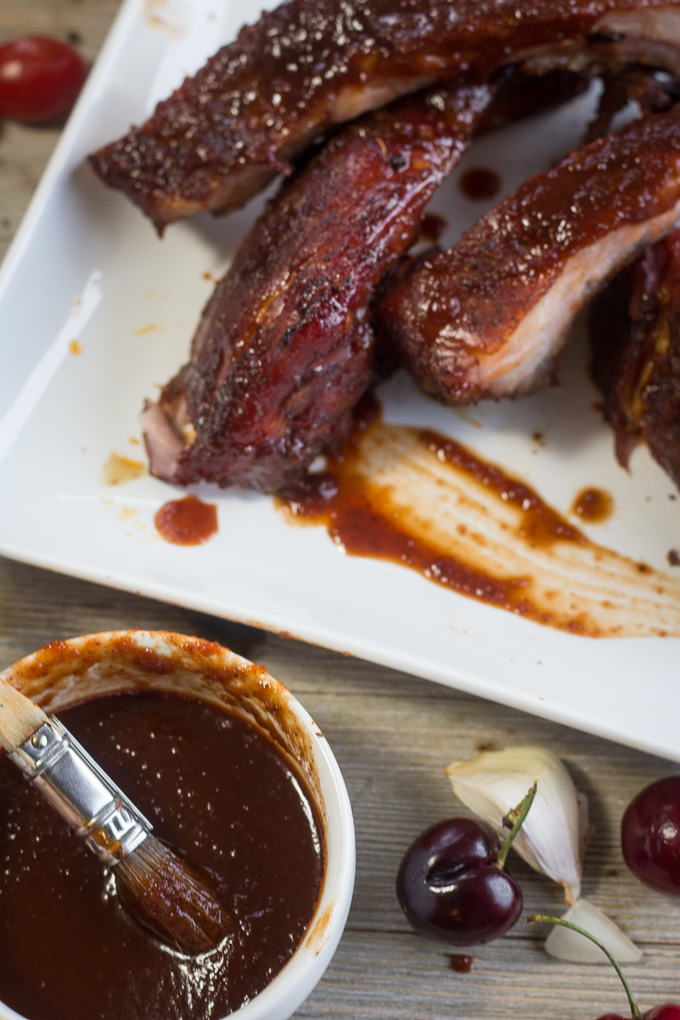
Dr. Pepper-Cherry BBQ Sauce
My wife and I generally have disagreements about barbecue sauce — I’m more of a Texas-style, vinegar-heavy, spicy-as-hell fan, while she prefers the St. Louis or Kansas City versions, which are sweeter and thicker. But this sauce she constructed is a great uniting force. It doesn’t stray too far from tradition, but gives you a bit of a surprise with the sweet, tart cherry taste and the unmistakable buzz of Dr. Pepper.
I recommend making this the day before, but you can do this while the ribs cook if you’d like. The process is easy:
- Cook down some onions, then add garlic and cherries.
- Add some other stuff and let it cook for 20 or 30 minutes.
- Blend it all together.
A couple things to note: we used frozen cherries that were brought back to room temperature, but you could also use fresh. We just didn’t want to go through the trouble of pitting. Also, be really careful when you blend the sauce together — if you don’t have an immersion blender, definitely wait for it to cool a bit before you pour it into a blender or food processor. I’ve burned myself more than I can count trying to handle too-hot sauces.
Prep the ribs
We used baby backs for this recipe, and while you can use other styles, I can’t speak to how the ratios and cook times would vary. But if you’re more of a spare ribs fan, have at it.
Start by taking the ribs out, rinsing them off, drying them with some paper towels, and removing the silverskin (that’s the thin membrane on the bone side of the ribs). Technically you can eat the ribs with that on, but it’s going to keep them from becoming really tender. There are folks out there that will argue that leaving it on is actually preferable, but I’m not one of ’em.
Get a really sharp paring knife and slice the corner of the membrane, then get a good grip and try to peel it off in one piece. It isn’t easy to do, so you may end up ripping small pieces at a time off. Get rid of as much as you can, then season the meat generously with salt and pepper and let it sit for ten minutes.
Check out this link for a tutorial on removing the silverskin.
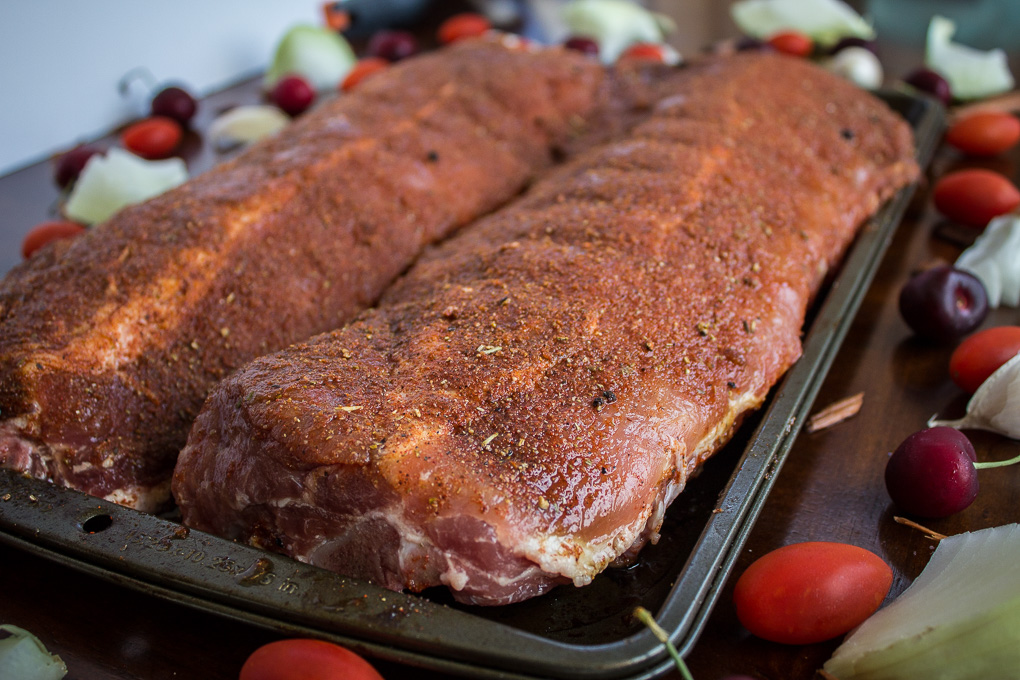
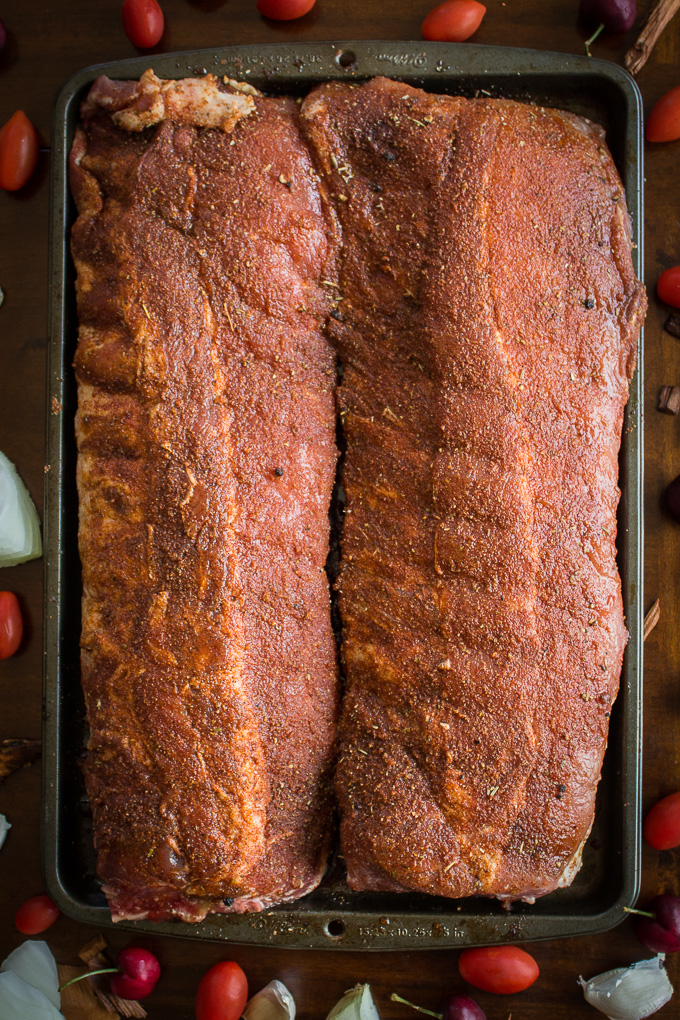
After the salt and pepper have done their magic, hit it with a good amount of dry rub. We used Meathead’s Memphis Dust for this recipe, which I definitely recommend, but you can sub your own if you have something you like. Make sure it has a good amount of sugar, though — that’s what generates the “bark” that makes you question why you don’t eat ribs every day.
Anyway, rub enough on to really cover the meat. It’s okay if a bit peeks through, but make sure the surface area is pretty well dusted.
Last thing before cooking: mix your apple juice, apple cider vinegar, and Worcestershire sauce together and pour it into a (clean) spray bottle. If you don’t have one, you can also just put it in a bowl and brush it on the meat. But this mixture is going to baste the meat periodically to keep it from drying out.
Cook the ribs
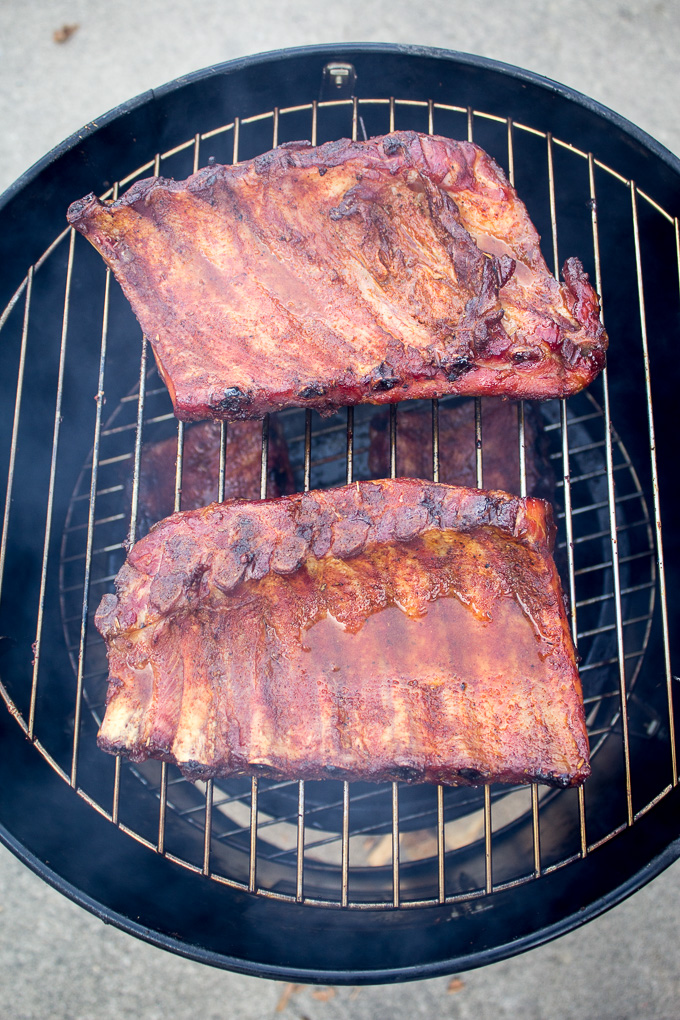
Meat prepped, basting liquid mixed, barbecue sauce created… now time to fire up the grill. My way of cooking these is in the smoker, which is heated between 225 and 250. You can cook these in the oven or on a grill, but the cooking times, temperatures, and methods will vary.
I think the best wood match for this ribs is cherry wood, to tie in with the cherry flavor in the barbecue sauce. I couldn’t find cherry at my local market, so we went with apple and it worked great. Mesquite and hickory are also great choices for cooking pork.
The cooking piece of this is pretty simple: get your smoker going strong, and cook the ribs for 4-5 hours, until tender. Every hour, flip the ribs over and spray/brush with the basting liquid to keep things moist. That’s pretty much it. The ribs are technically cooked when they reach an internal temperature of 145 degrees, but if you go to 170-190 they’ll be very tender. That’s what I’d shoot for, about 175 or so.
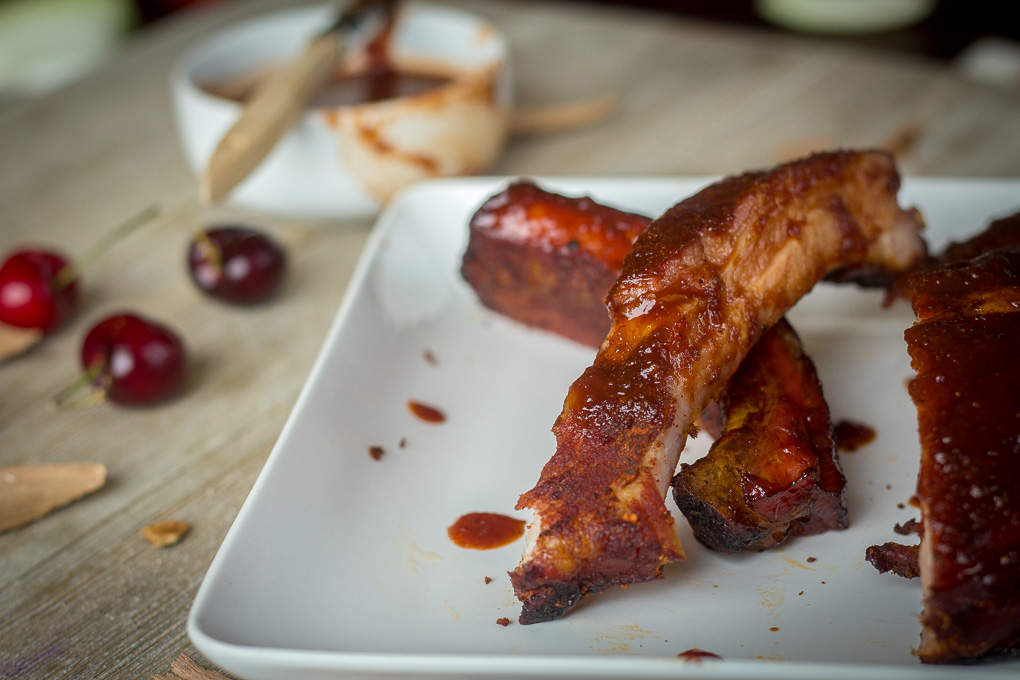
Now, this isn’t going to create a fall-off-the-bone kind of tender. There’s still a bit of chew to these babies, a bit of character, some bite. That’s what I like. If you’re more into the other, you could use the 3-2-1 method of cooking ribs, though you risk not being taken seriously.
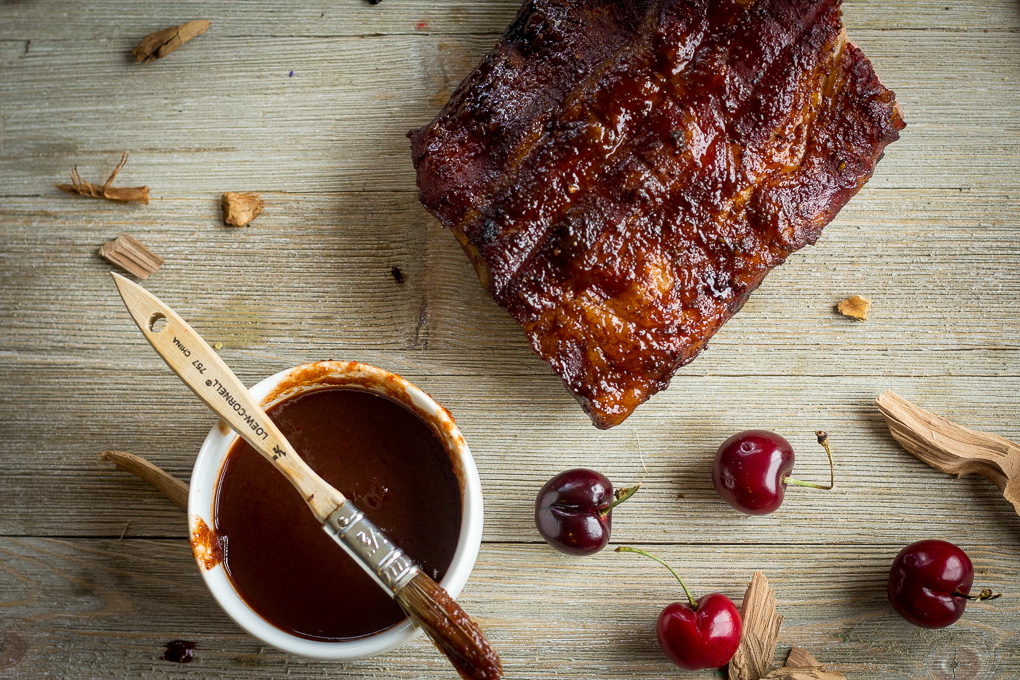
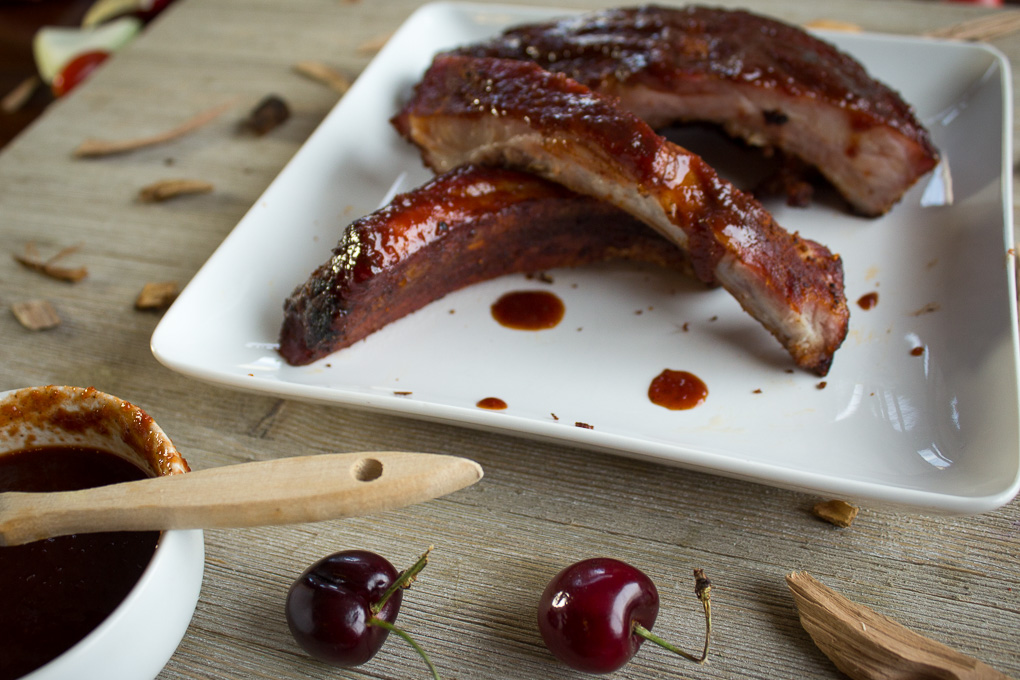
After the ribs are cooked, remove and let rest for a few minutes. Then grab that sweet Dr. Pepper-Cherry BBQ Sauce and slather it all over the ribs. Serve the ribs with some more of the sauce, and prepare to eat more than you should.
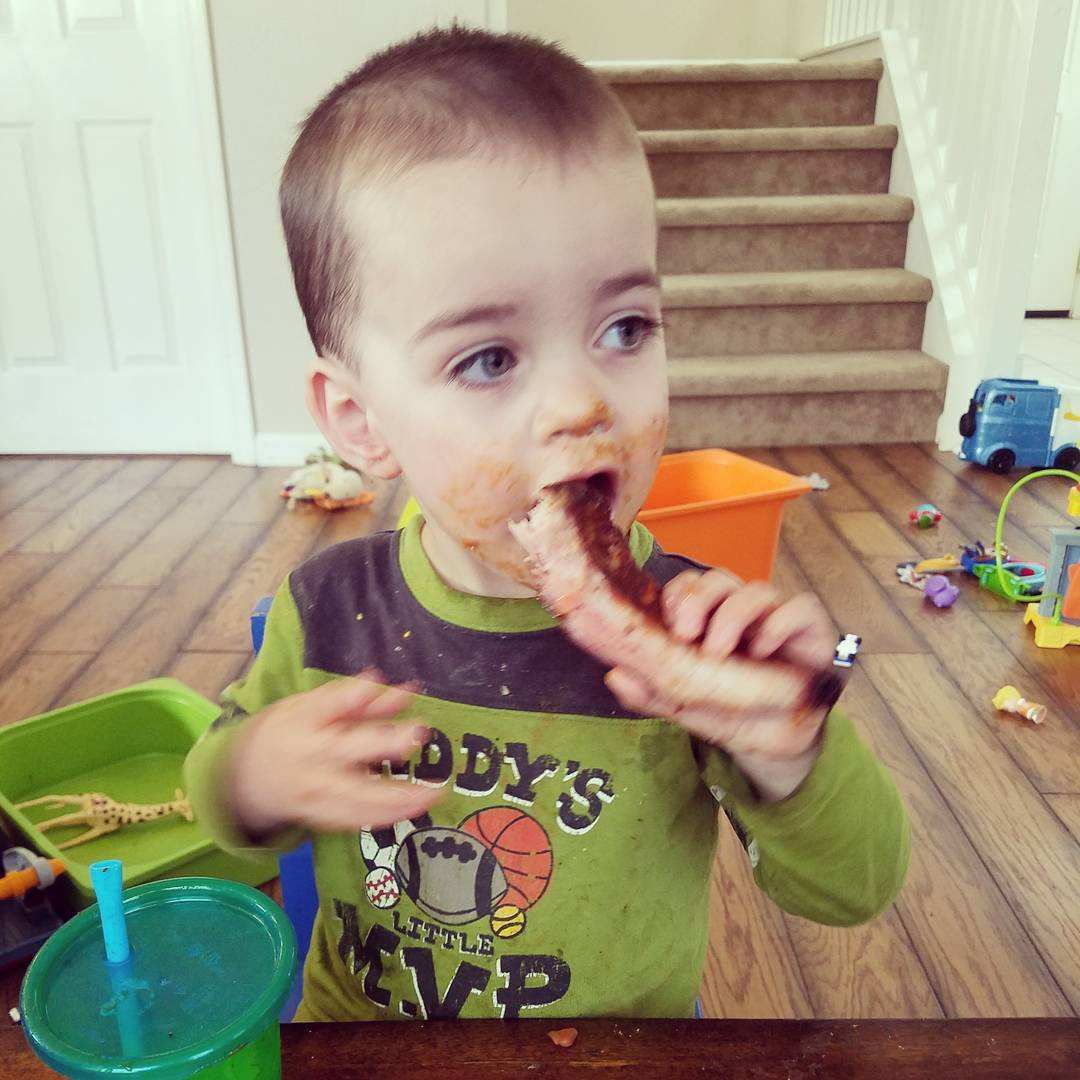
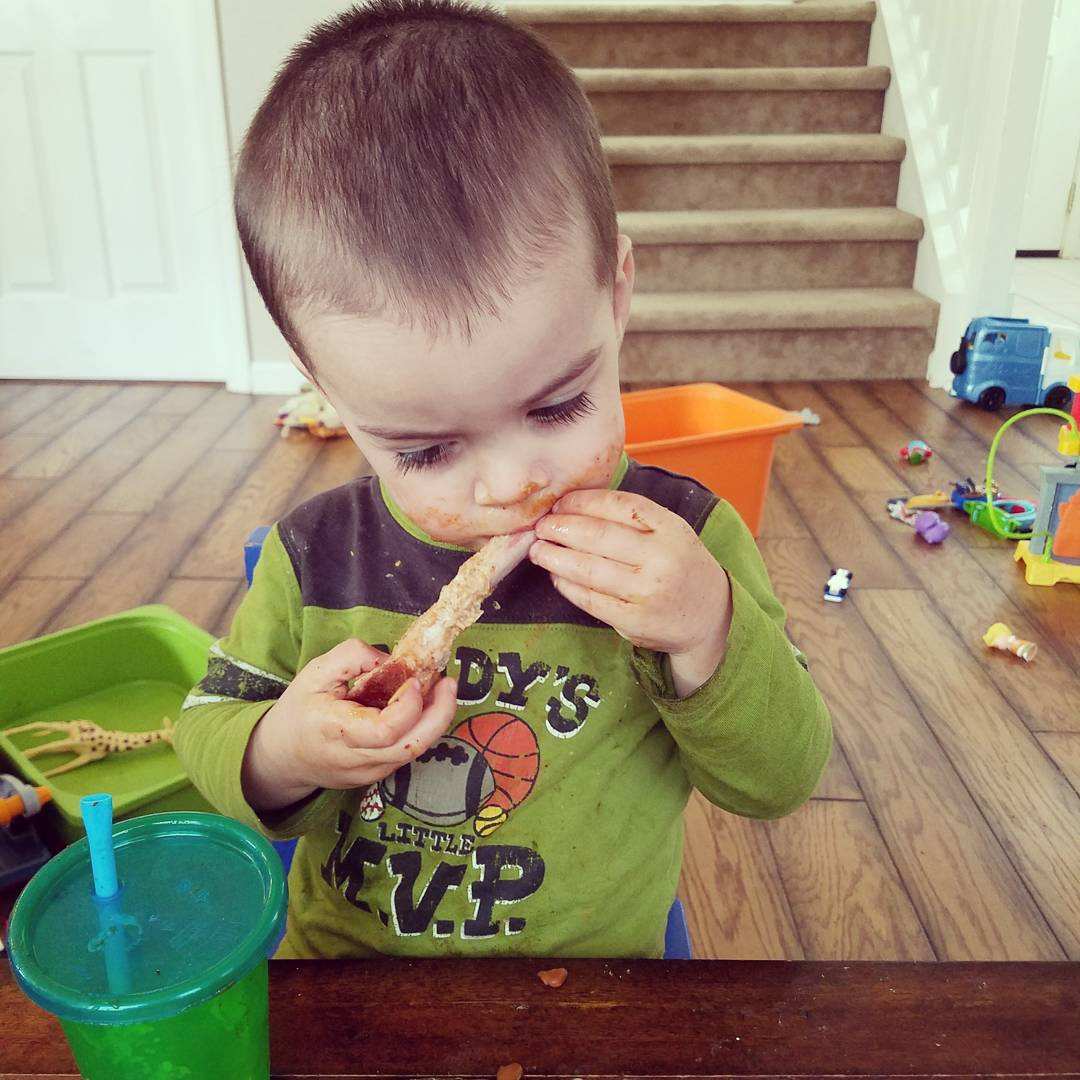
Even our two-year-old couldn’t get enough.


| Prep Time | 25 minutes |
| Cook Time | 4-5 hours |
| Servings |
people (but I guess it depends on how many ribs you can eat)
|
- 2 racks baby back ribs
- 4 tbsp Meathead's Memphis Dust, or any dry rub see recipe notes
- kosher salt
- freshly ground black pepper
- 2 tbsp canola oil
- medium yellow onion diced
- 2 cloves garlic minced
- 2 c cherries fresh or frozen, pitted
- 3/4 c ketchup
- 1/3 c molasses
- 3 tbsp tomato paste
- 12 oz Dr. Pepper
- 1/2 c apple cider vinegar
- 1/3 c Worcestershire sauce
- 1/2 c dark brown sugar
- 2 tsp chili powder
- 1 tsp white pepper
- 1 tsp kosher salt
- 1 c apple juice
- 1 c apple cider vinegar
- 2 tbsp Worcestershire sauce
Ingredients
Ribs
Dr. Pepper-Cherry BBQ Sauce
Basting Liquid
|
|
- In a dutch oven or large pot set to medium heat, sauté the onion until translucent in 2 tbsp canola oil. Add the garlic and cherries and cook until the cherries are soft, about 10 minutes.
- Reduce heat to medium-low, add the remaining ingredients, and mix well. Cook for 20-30 minutes, stirring occasionally.
- Remove from heat. Using an immersion blender, blend all ingredients until smooth. Alternately, wait for the mixture to cool, then blend in a traditional blender or food processor.
- Allow to cool before serving.
- Mix the Basting Liquid ingredients together and pour into a spray bottle. Alternately, you can just brush it on the meat if you don't have a spray bottle.
- Rinse the ribs and pat them dry with paper towels. Remove silverskin (see recipe notes). Allow the ribs to reach room temperature, then season generously with salt and pepper. Let sit for 10 minutes.
- Season with Meathead's Memphis Dust or dry rub of your choice. Use enough to cover the meat, but it's okay to allow some bits of meat to poke through.
- Cook in a smoker or outdoor grill set to 225-250 degrees for 4-5 hours, flipping the meat every hour and applying a few sprays of the basting mixture. The meat is done when it reaches and internal temperature of 145 degrees, but reaching 170-190 will ensure they are more tender.
- Remove from heat and brush on Dr. Pepper-Cherry BBQ Sauce. Serve with additional sauce.
0 comments on “Ribs taste awesome. That’s all the information you need.” Add yours →