I grew up eating tacos that were created this way:
- Buy the cheapest flour tortillas you can find at the store
- Fry up some sort of cheap ground meat
- Cut up some tomatoes, rip some iceberg lettuce, and shred some orange or white cheese, whatever’s good
- Don’t forget the canned, mild salsa!
- Roll into a sorta-burrito-like shape, but don’t close it. Your bites should be 40 percent taco filling and 60 percent empty tortilla
It’s no wonder I have a soft spot for Taco Bell; the taco quality and flavor profile incites a bit of nostalgia. Funny thing is, at the time, I didn’t know our tacos weren’t great. That’s just what tacos were to me. I think that’s akin to how most people feel about tacos, and specifically about tortillas — you don’t know what you’re missing because you’ve never tried anything else.
Well, that changes today. Give yourself a bit of time and a bit of patience, and be rewarded with a treat that will forever change how you approach taco night. Form your own tortillas. Pickle your own onions. And marinate your own carne asada. Truly, it takes some time and effort, but the payoff is some kind of magic.
START WITH THE MEAT
This recipe is for carne asada, but these same principles apply to any kind of meat you wanna put in a taco (you can check out my Pressure Cooker Pork Tacos recipe here, if you’re into that kinda thing).
Carne asada is traditionally made using a thin, lean, usually cheaper cut of beef. I used skirt steak for mine, but you can easily substitute flank or hanger steak (hanger is usually a bit more difficult to find but is the most flavorful of the three). We’re going to cook this quickly at a high temperature, so you want something that isn’t going to burn — that’s why a thin cut and a minimal amount of fat is essential.
The key to great carne asada is the marinade. Mine has a good amount of acid from the lime juice and vinegar, which will help tenderize the meat.
First, lay out your steak and let it reach room temperature. Then, season both sides well with salt and pepper. YES, we’re seasoning with salt and pepper and putting salt and pepper in the marinade. Get over yourself and just do it.

Then, get all of the marinade ingredients mixed together in a large bowl.
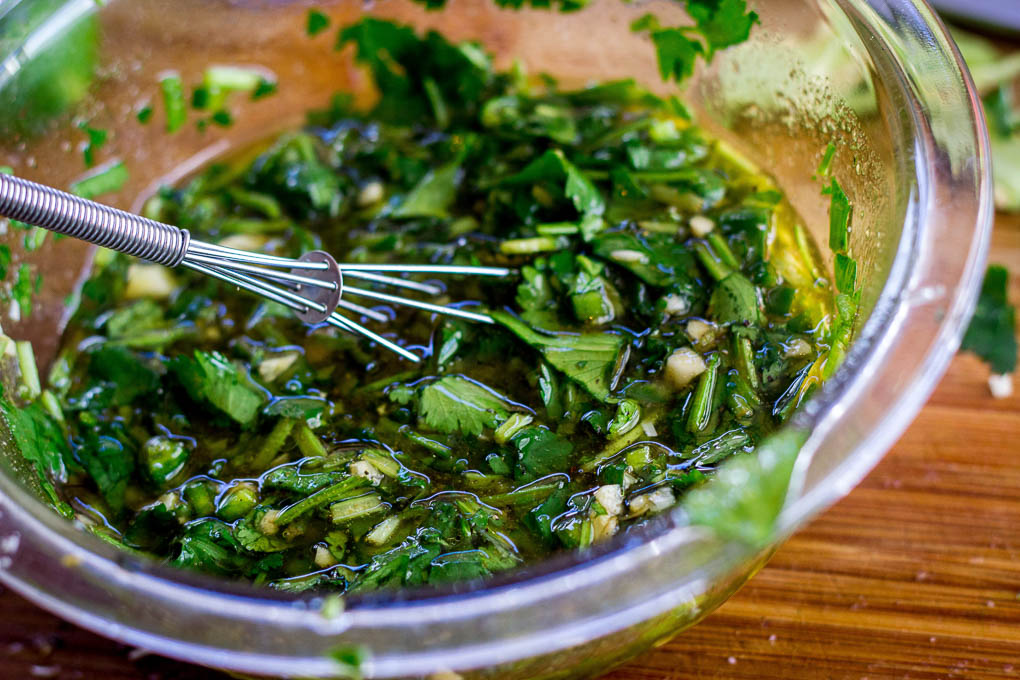
If you wanted to, you could also put all the ingredients into a blender and make a paste out of it, but why would you want to? If you do, you may need an extra bit of oil/vinegar to smooth it out a bit. Finally, put your meat into a shallow dish or a big plastic bag and pour the marinade over the top.
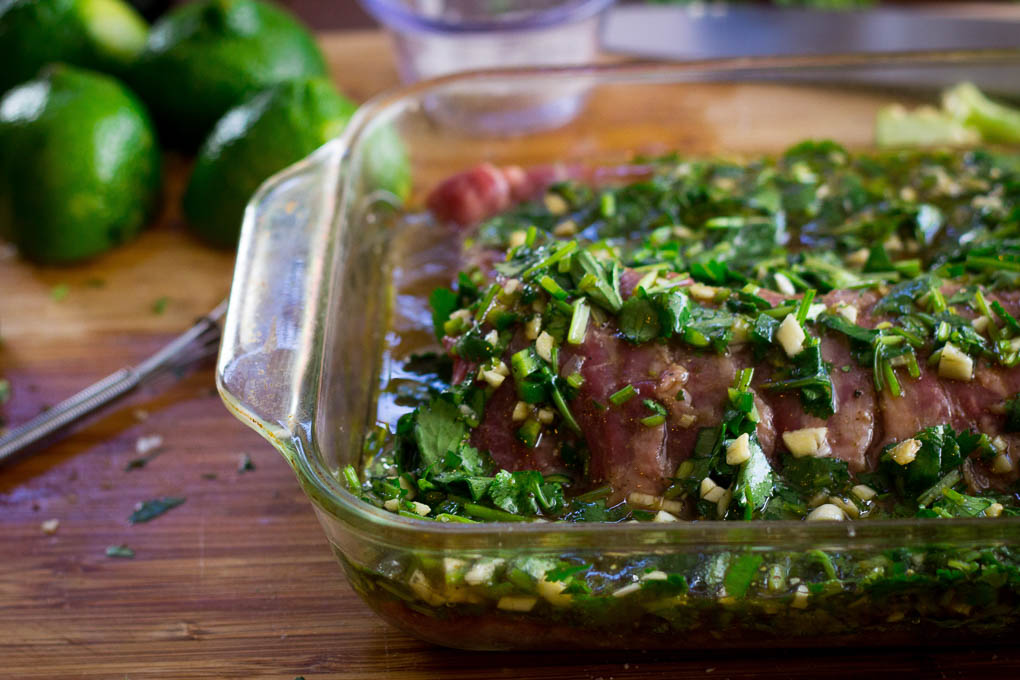
Cover that up, and let it sit in the fridge for 2 hours. While that chills, we’ll move on to pickling some onions.
THE QUICK PICKLE
You certainly don’t need to pickle red onions for your tacos to be tremendous. But you also don’t need a cherry on top of a sundae. Or gravy on your mashed potatoes. Or cheese on your burger.
My point: Make the damn onions. They’re so simple that it’s almost a crime not to make them.
The beauty about this process is its simplicity — you put some onions in a jar, pour some liquid over the top, and walk away. And it’s a quick pickle, meaning these will be ready in an hour. The longer you wait, the more robust the flavor is going to be, but what I like about the quick pickle is that the onions will still be crunchy, which I think adds great texture to your taco. If you prefer yours a little softer, do this the night before and let your onions chill in the fridge overnight.
If you don’t have pickling spice, you can omit it and still have good results. You can buy pickling spice with any other spice at the supermarket, or you can make your own. My blend is included in the recipe below, but you can tweak it with different spices to fit your preference.
Note that we’re only using 1 teaspoon of pickling spice in this recipe; stash the rest away to pickle other vegetables. The procedure for pickling the onions is easy:
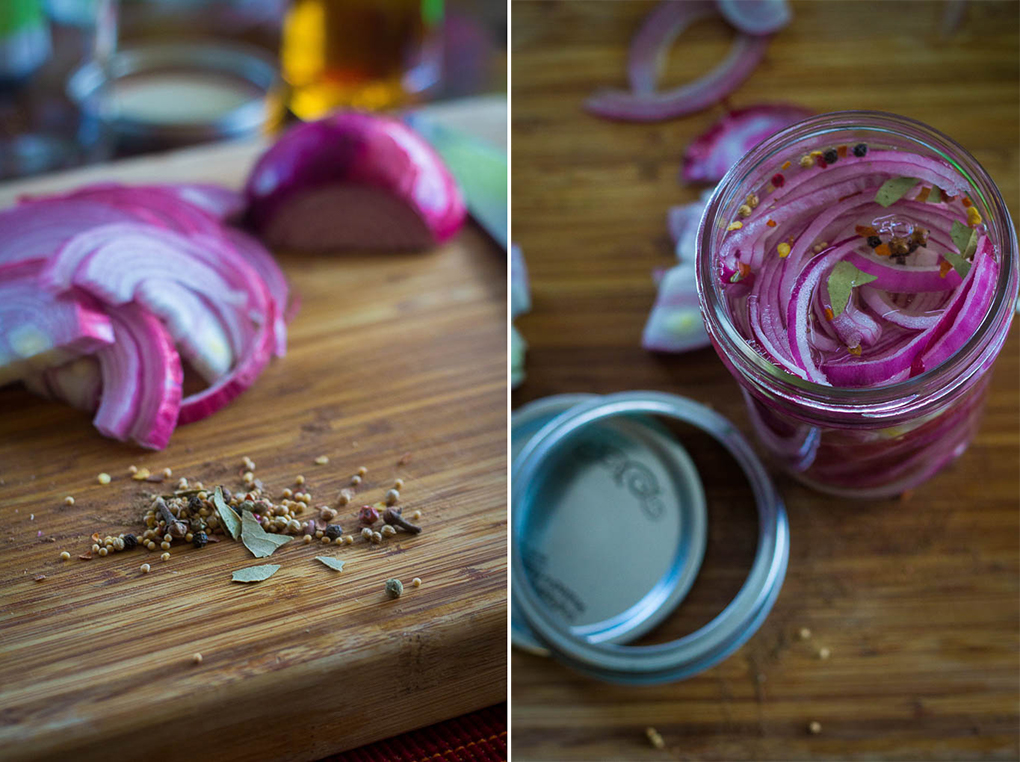
- Cut up the onion and put it into a jar, or some kind of container with a tight-fitting lid. How you cut the onion depends on your preference; I prefer half-moon shapes.
- Mix the other ingredients together, making sure the sugar and salt are dissolved.
- Pour the liquid over the onions and cover.
- Wait. If you’re serving them tonight, leave it out at room temperature. If you’re making this ahead of time, stick the jar in the fridge.
PREP THE REST
Now, meat and onions would make a damn fine taco on their own, but you probably want more stuff on there. Now that your meat is marinating and your onions are pickling, you have some time to prep the rest.
Cut up some cilantro, avocado, radish, lime, and other toppings you think might enhance your experience. But for the love of all that is holy, don’t let that list include shredded cheese. Buy some good, salty, Mexican cheese like cotija or queso fresco.
COOK THAT STEAK
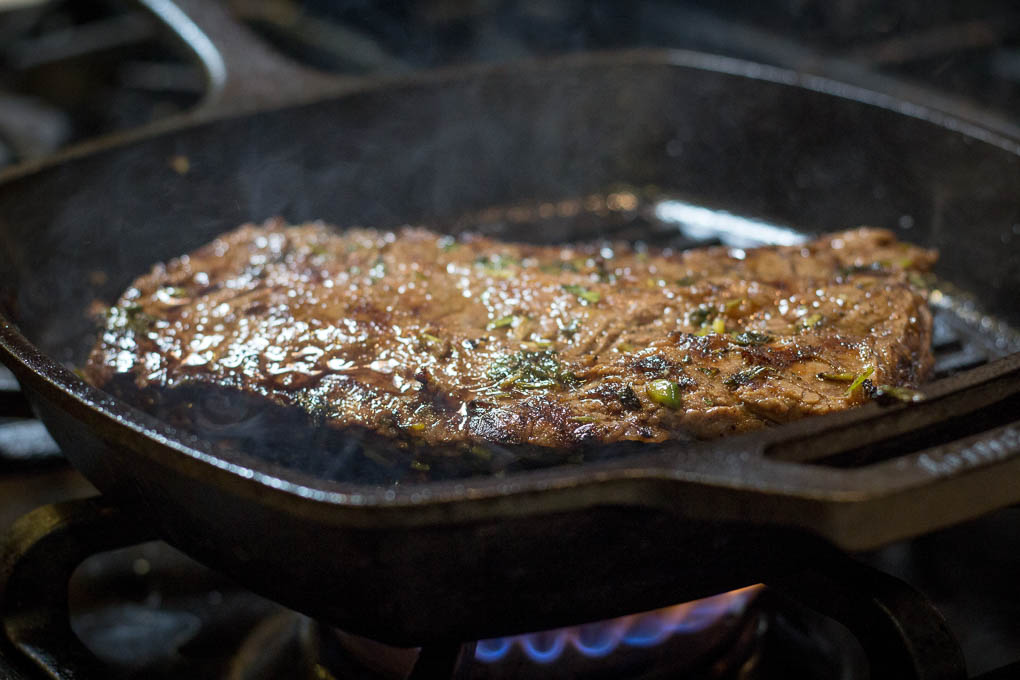
Now that some time has passed, get that steak out of the fridge and let it come back towards room temperature. While that happens, either pre-heat your grill or, if cooking indoors, your grill pan or cast iron skillet. We’re looking for high heat, so if you’re indoors, also get the fan going and open some windows.
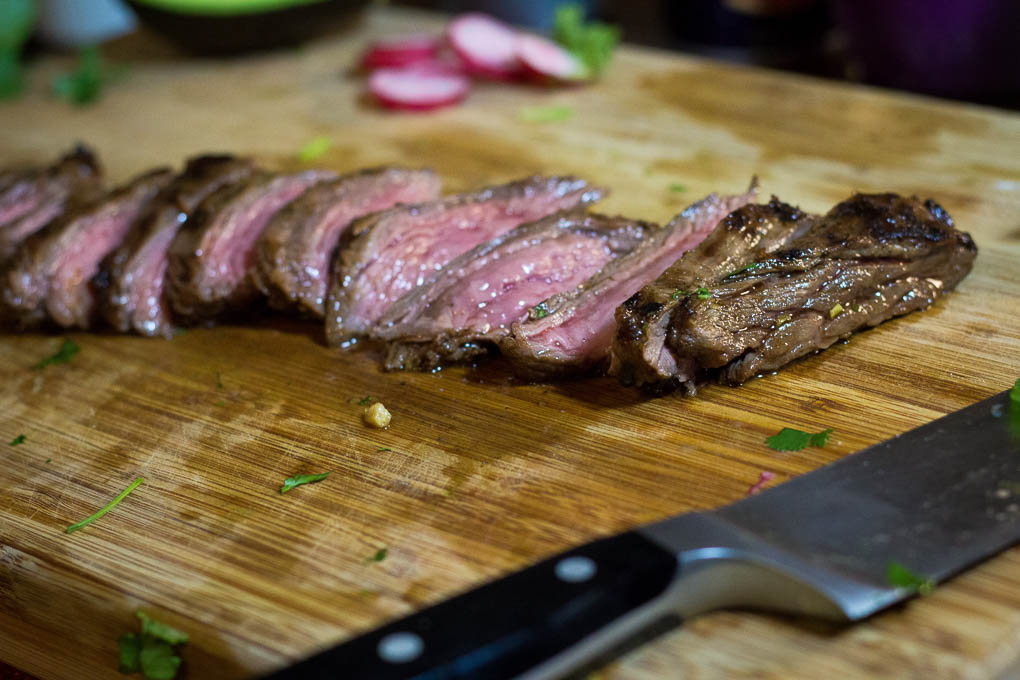
Once you’ve got your pan to the right temperature, put a little oil on there and put the meat down. We’re cooking this thing fast, so as little as 2 minutes per side will do it, depending on which cut you’re using and how thick it is. (Note: My friend Anna tried this recipe and points out that 2 minutes can leave your meat pretty rare. That’s a good point, so to clarify — it can cook in as little as 2 minutes, but please make sure it’s at a temperature of your liking before removing it from the heat. I just want to prevent you from overcooking.) If you’re using flank especially, it can overcook quickly. Skirt and hanger are a little more forgiving, but still need to be closely monitored. We’re going for medium-rare here; overcooked steak is going to make exactly no one happy.
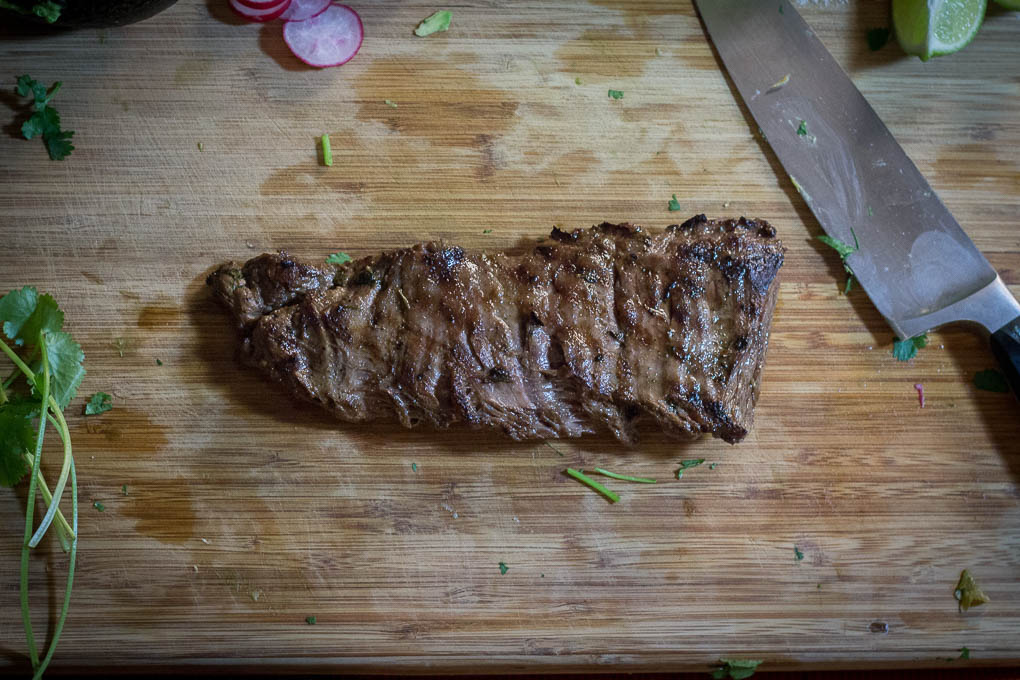
Cook it on both sides, then get it off the heat. Let it rest for 10 minutes before slicing.
LET’S MAKE SOME TORTILLAS
Now for the showstopper. Making your own tortillas probably seems intimidating to anyone that hasn’t done it before, and I won’t lie: there’s a definite learning curve involved. But once you figure it out, you’re going to question why you didn’t start doing this years ago. You don’t want to cook this beautiful steak and pickle your own onions, just to put them on top of store-bought tortillas, do you?
The recipe itself is remarkably simple. You’ll only need three ingredients: Masa harina, salt, and water. Masa harina is very finely ground corn flour. It’s really easy to work with once you get the hang of it, and it’s delicious — which is why you only need a bit of salt to season. Also, if you have a tortilla press, it’s going to make your life a heckuva lot easier, but if you don’t, a rolling pin and some creativity will serve as an adequate substitute.
I’m going to describe how to form these tortillas, but if you’re more into the visual thing, check out this video. One thing that you’ll notice if you look at different recipes or different videos for making corn tortillas: the masa-to-water ratio will vary, sometimes quite a bit. That’s because making the mixture is a lot about feel, which is why this may take a bit of practice before you get really comfortable.
The first thing to do is mix your salt into the masa, then add about half of the water. You probably could use a stand mixer with the hook attachment, but there’s really no substitute for getting your hands dirty on this one. Start to mix the dough together, adding a bit of water at a time, until it’s smooth but still a little sticky. Again, the amount of water may vary, so don’t add too much too quickly. The package of masa may also have recommendations, based upon the type of corn they used and the milling procedure, so check that out as well.
When the dough forms into a ball that is solid but still a little sticky, you’re in pretty good shape.

Now, you can work with that immediately, but I prefer to let it sit for about 10-15 minutes, covered in plastic. That will allow the masa to finish absorbing the water, and before you form the tortillas, you can add a bit more masa or water if necessary.
Now, it’s time to form the tortillas. Get a cast iron pan or a griddle heated up to high heat, then break off small pieces of the dough and roll into balls. The recipe I gave you above makes about 10 tortillas, so separating into 10 equal pieces is a safe bet. After you form a couple, you’ll get a good idea of how big you should go.
Last step before forming: get some plastic to put on both sides of the press. Pictured below, I used a zip-top bag and split it in half. Not pictured, I actually had better success using wax paper. Play with different ideas (plastic wrap or parchment paper could work too). The point is to keep the dough off of the press itself — you’ll get a much smoother tortilla this way, and you’ll be able to easily transport it across the kitchen to the pan instead of having to press them out right by the stove.
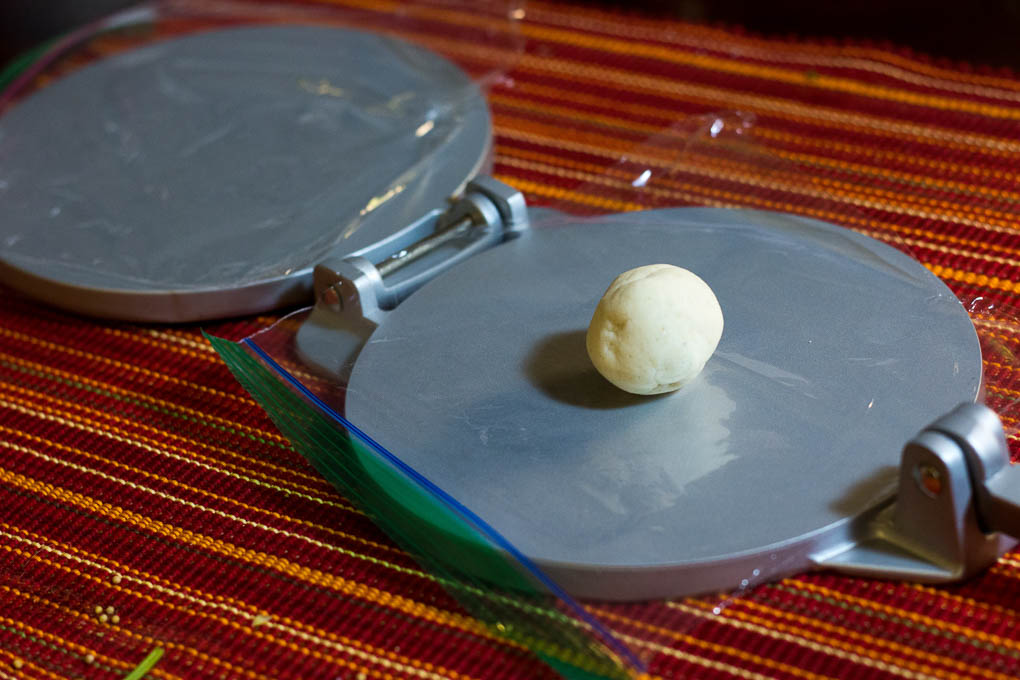
When the pan is ready, place a ball of dough directly in the center of the press, close it, and press down hard to evenly distribute the dough. This only takes a couple of seconds, and when you lift up, you should see a nice, even, smooth disc.
If you’re one of those poor fools without a press, roll the dough out with a rolling pin til it’s fairly thin and consistent. You may not get a perfectly circular shape, but we’re not looking for that, necessarily. There’s something charming about the imperfection.
Now, to the trickiest part. Carefully and slowly peel away the top layer of plastic/wax paper, making sure not to tear the tortilla. Then slowly peel either:
- The tortilla from the paper, or
- The paper from the tortilla
I tried both ways, and failed equally the first few tries. Tearing will likely occur, and that’s okay. Depending on how much dough you made, you can either try to re-form it, or just drop the torn pieces into some oil and make chips.
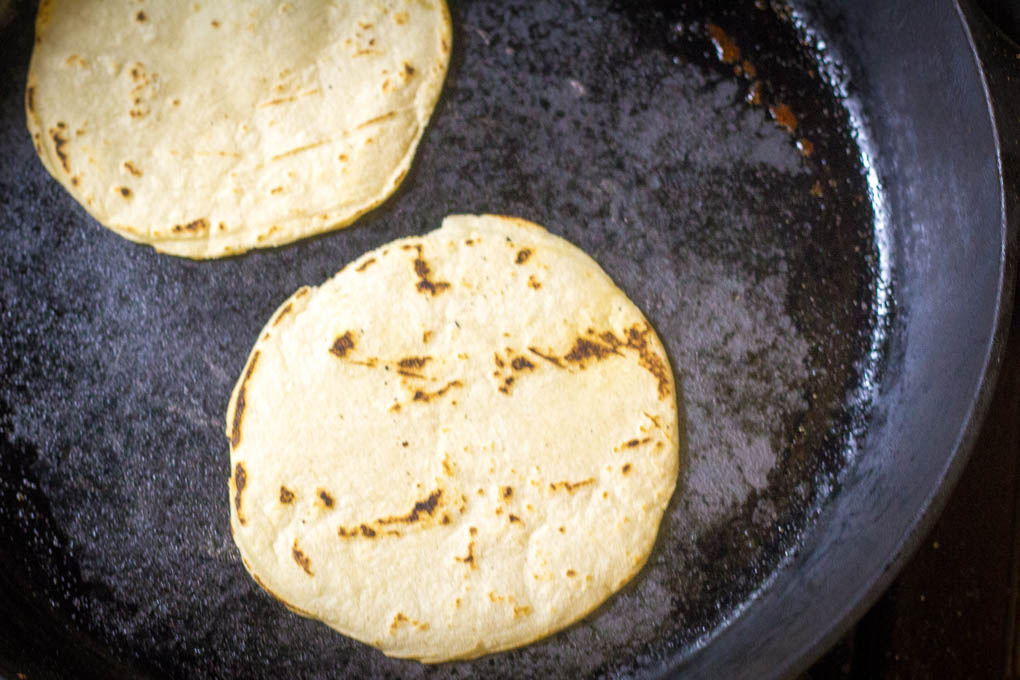
Once you get a solid tortilla out of the plastic/paper and into your hands, drop it (carefully!) into your heated pan. If you’re using cast iron, you may not need to add oil; if you’re not, a little bit may be in order. Drop that bad boy in, let it cook on one side for 30-60 seconds, then flip. If it starts bubbling with air inside, don’t try to pop the air bubbles. It will naturally deflate once you flip it and/or remove it from the heat, and it’ll make for good texture.
These things should cook for about 2 minutes each, but a lot will depend on your pan and level of heat, as well as the consistency of your dough. Cook ’em until they’re firm and pliable.
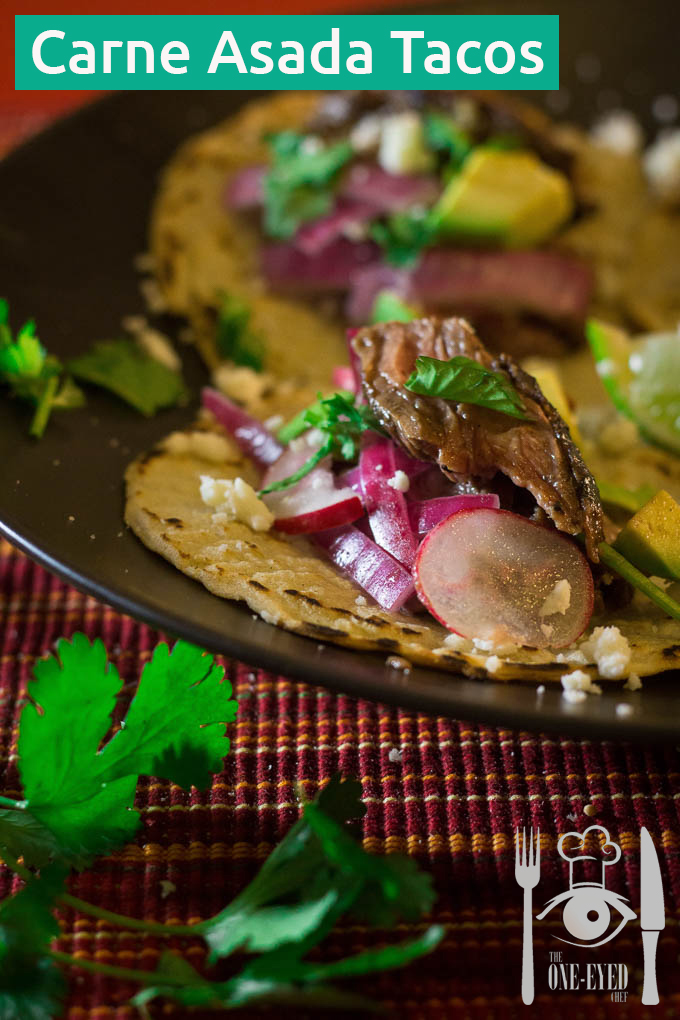
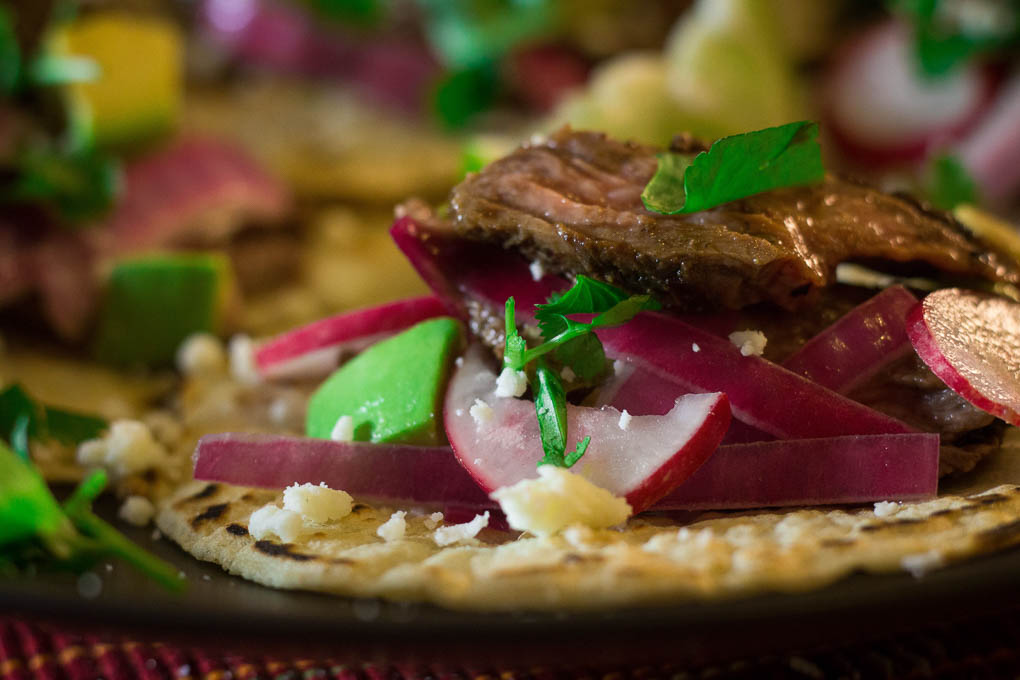
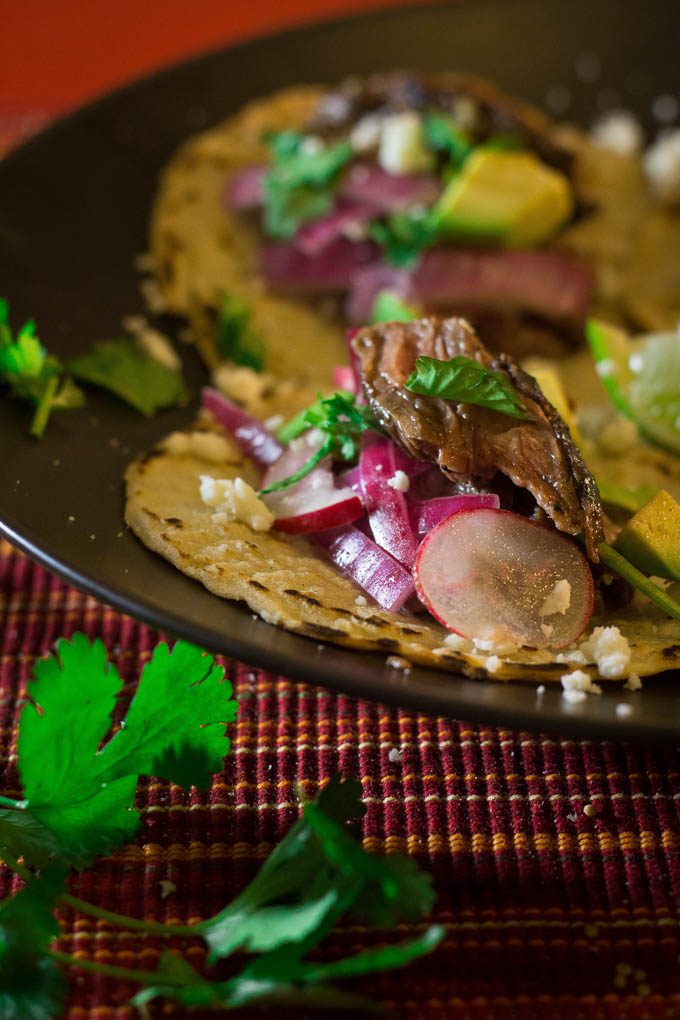
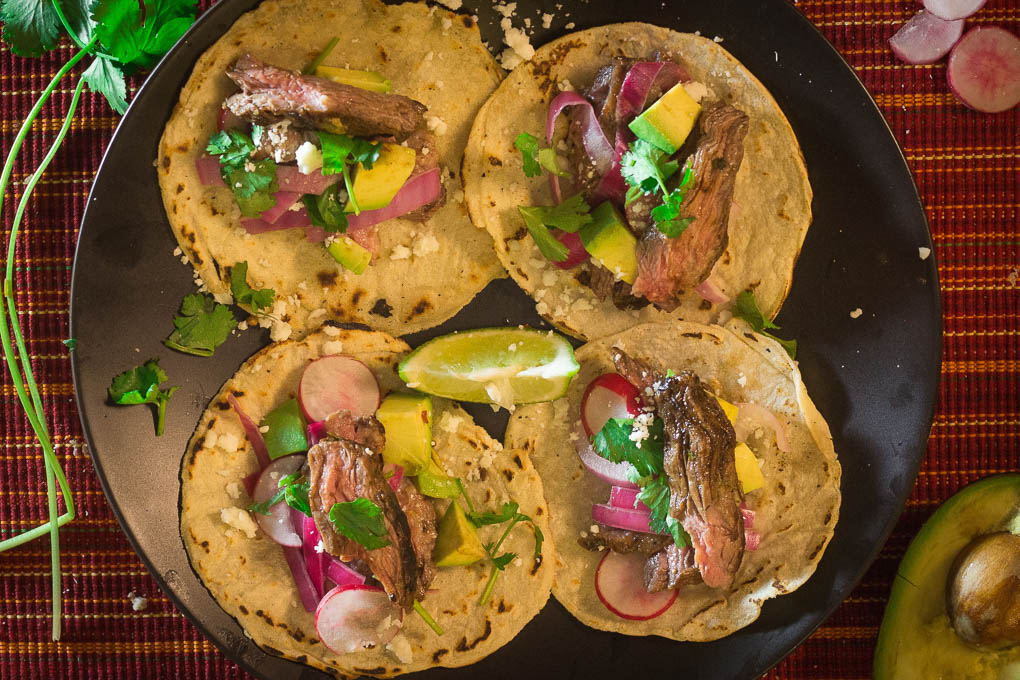
ASSEMBLE
Now for the easy part. Put some tortillas down on a plate, fill them with meat, layer on your pickled onions and other accompaniments, and squeeze a little lime over the top. And finally, remember to take a breath in between bites so you don’t choke as you gobble these things down. Enjoy!


| Prep Time | 30 minutes |
| Cook Time | 20 minutes |
| Passive Time | 2 hours |
| Servings |
tacos
|
- 2 lb skirt steak
- 2 tbsp apple cider vinegar
- 1/3 c olive oil
- 2 tbsp sugar
- 2 tsp kosher salt
- 1 tsp freshly ground black pepper
- 1 tsp cumin
- 1 jalapeno pepper seeds removed and minced
- 4 cloves garlic minced
- 1/2 c cilantro chopped (about 1/2 bunch)
- 1 medium red onion sliced
- 3/4 c water
- 3/4 c apple cider vinegar
- 2 tsp kosher salt
- 1 tbsp sugar
- 1 tsp pickling spice (link in recipe notes)
- 1-1/2 c masa harina
- 1-1/2 c water
- 1 tsp salt
- 1 large avocado diced
- 1/2 c cilantro chopped
- 10 radishes sliced
- 2 limes sliced into wedges
- 1/2 c cotija cheese crumbled
Ingredients
For the carne asada
For the pickled red onions
For the tortillas
Garnishes
|
|
- Let the steak sit out until it reaches room temperature, about 10 minutes, and season with salt and pepper.
- Mix together the marinade ingredients until combined.
- Place the steak in a shallow dish or zip-top bag and cover with the marinade. Let sit for 2 hours in the refrigerator.
- Slice the onion into half-moon slices and place in a jar or other deep container with a tight-fitting lid.
- Mix the salt, sugar, water, apple cider vinegar, and pickling spice until the salt and sugar are dissolved.
- Pour the pickling mixture over the onions until onions are completely submerged.
- Cover and let sit at room temperature until ready to serve.
- Mix together masa harina, salt, and 1 cup of water until combined.
- Slowly add splashes of the water until the dough comes together. The dough should be smooth but slightly sticky.
- Let the dough rest for 10 minutes.
- Check the dough for a smooth consistency. Add a splash of water if it is too dry or a sprinkle of masa harina if it is too wet.
- Place plastic or wax paper on both sides of a tortilla press, or lightly sprinkle a flat surface and a rolling pin with masa harina.
- Split the dough into 10 equal pieces and form each into a small ball. Place in the middle of the tortilla press and flatten into a disc, or roll with the rolling pin until thin and smooth.
- Carefully remove the plastic or wax paper and place the tortilla into a pan heated on high temperature. Cook for 30-60 seconds per side, until the tortillas are pliable.
- Wrap the cooked tortillas in a kitchen towel or place into an oven heated to 200 degrees to keep warm until ready to serve.
- Remove the steak from the marinade and gently remove any excess bits of cilantro or garlic that might burn.
- Cook the steak to medium-rare over high heat, about 2 minutes per side, depending upon the thickness of your steak. Remove from heat and let rest for at least 10 minutes.
- Slice the steak into thin strips and place into warm tortillas. Top with the pickled red onions and other garnishes.
Pickling Spice recipe can be found here.
0 comments on “To scratch-make tacos, you need patience. And meat.” Add yours →