Normally I’d start with some interesting historical facts, how the Mongolians or Turks or South Africans used cherries to cure disease or traded ginger instead of currency. Instead, I’m going to share a story about a second-place finish in a pie competition.
The setting: my office. The time: about two weeks ago. The mood: festive. The weather: Eh, partly sunny?
My co-workers and I were talking about food, something that is a regular occurrence. One was telling us about a pie he was going to make over the weekend as part of a large feast. We spoke of buttery crusts and warm, gooey fillings, and told tales of beloved pies from our pasts. It wasn’t long before an idea was sparked: our team should all bake pies and bring them the week before Christmas.
Then, naturally, the idea of simply baking pies morphed into something deeper. The group involved grew larger. And before we knew it, we had planned a full-on pie bake-off with seven competitors, a panel of judges, and an appointment on everyone’s calendars to ensure even the most busy folks in the organization had time to attend.
My competitive spark ignited, and I knew I had to do something bold to stand out. I hadn’t specifically tasted my competitors’ baking before (for the most part), but the way they talked about food, I had a feeling it would be fierce. I went in circles about what kind of pie to make, and I landed on a flavor combination I knew would be bold and unique.
I’d been toying with the idea of a cherry-ginger-tarragon combination for months. I’d never heard of it before, and looking around the internet for inspiration, I found nothing. This meant one of two things:
- It’s a terrible idea and doesn’t work or
- It’s so brilliant that no one has ever thought of it before, and I’m a culinary super-genius.
I’m sure you can guess which option I chose.
I tried the combination a couple of times, mostly on donuts. It didn’t work. But the idea burned in the back of my brain, and I knew when the perfect opportunity presented itself, the combination would be a huge success. This pie competition, in my mind, was that perfect opportunity.
I’ll spare you the details, but it was a miserable failure. Dejected, I finally conceded that the tarragon was the main culprit, and I modified the recipe to focus just on cherries and ginger. But something was missing. Some taste-testing later, I added a giant punch of lemon, and the results were sublime.
Fast-forward to last Thursday. The seven competitors were down to six, the three judges were up to five, and the scale of the competition was immense. We were moving huge TVs around the office to display the competing pies, creating attractive displays so everyone could see our work, and agonizing over the wait until 2:30 when the judging commenced. (Why did we schedule it for 2:30??)
Finally, judgement time arrived. The five judges, surrounded by about 20 other people, tasted the pies and viewed the following slides:
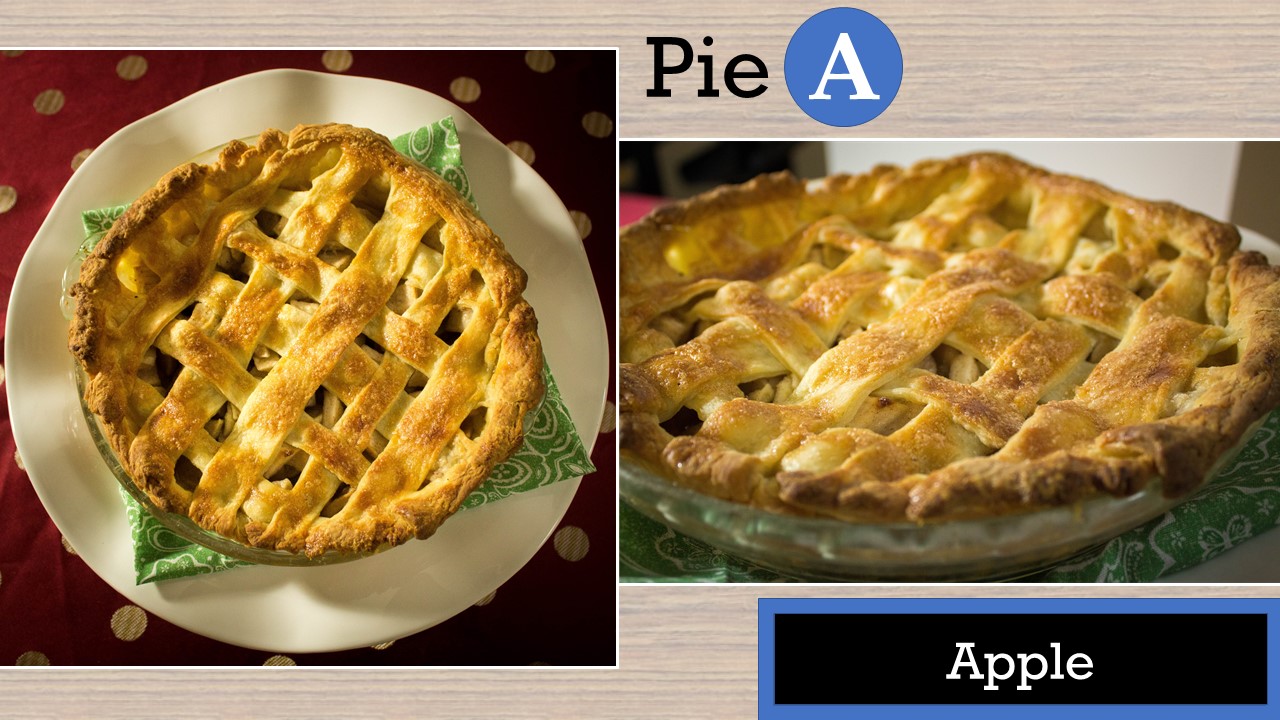

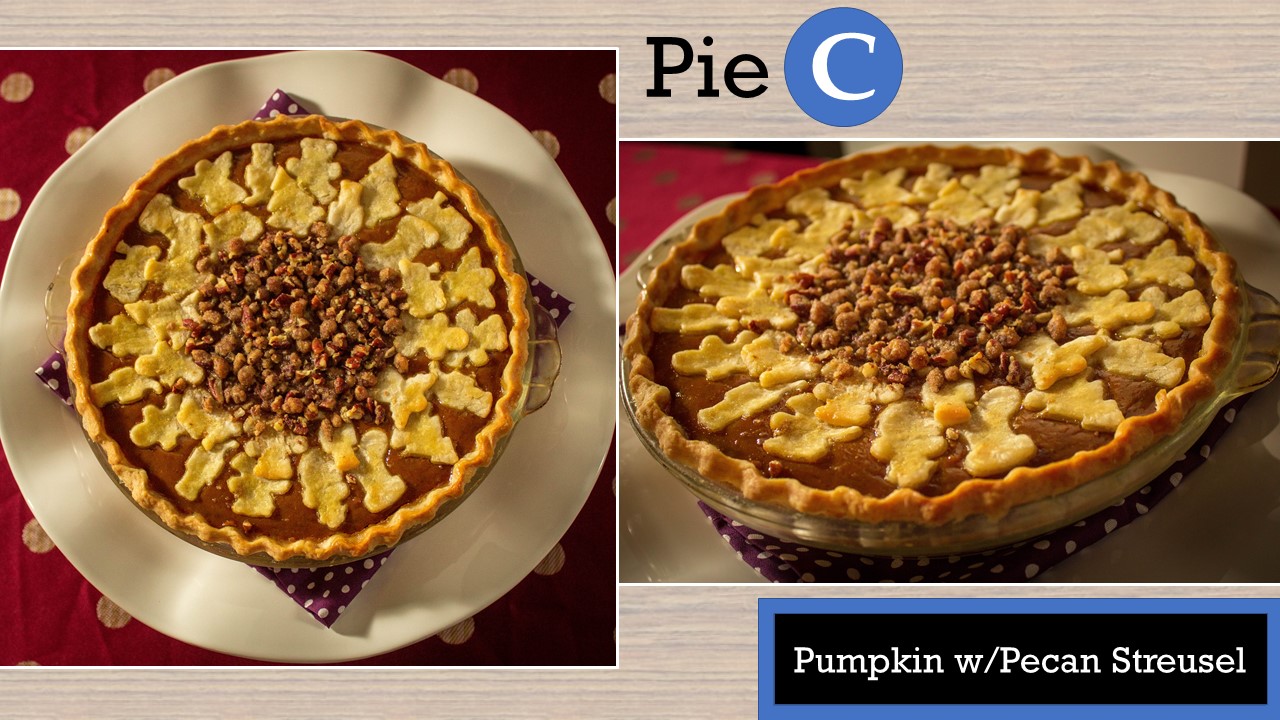
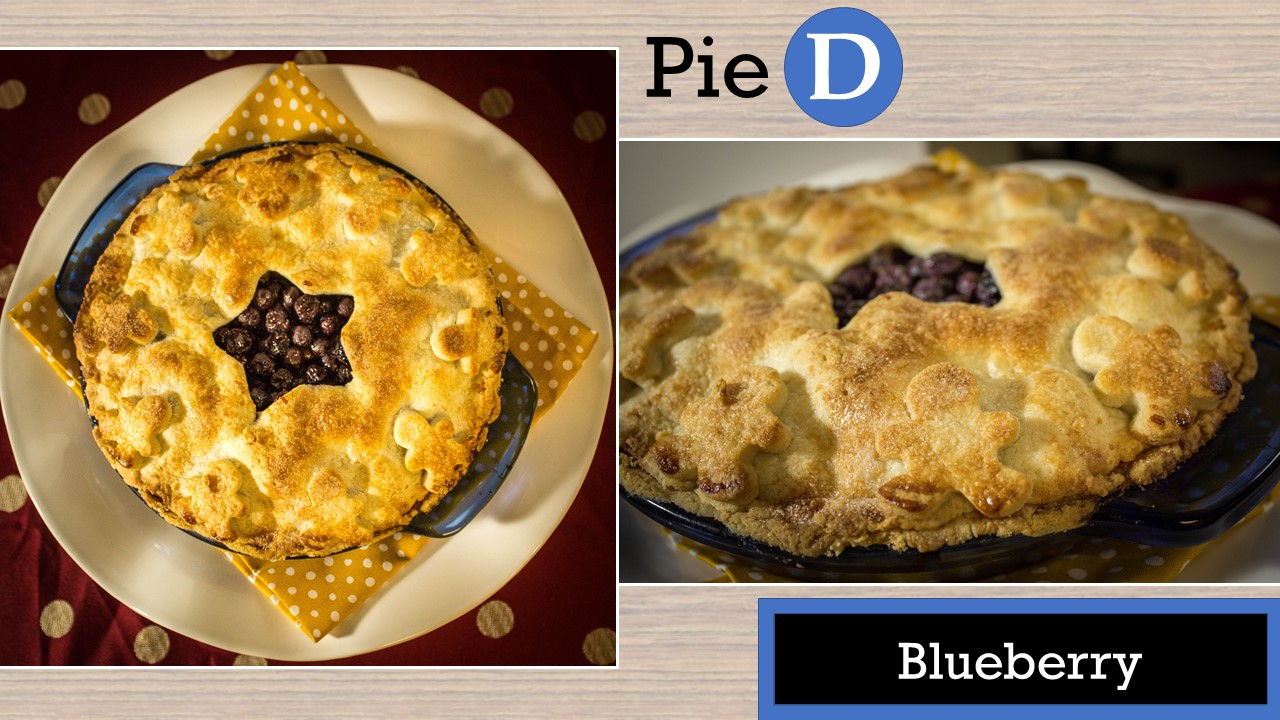
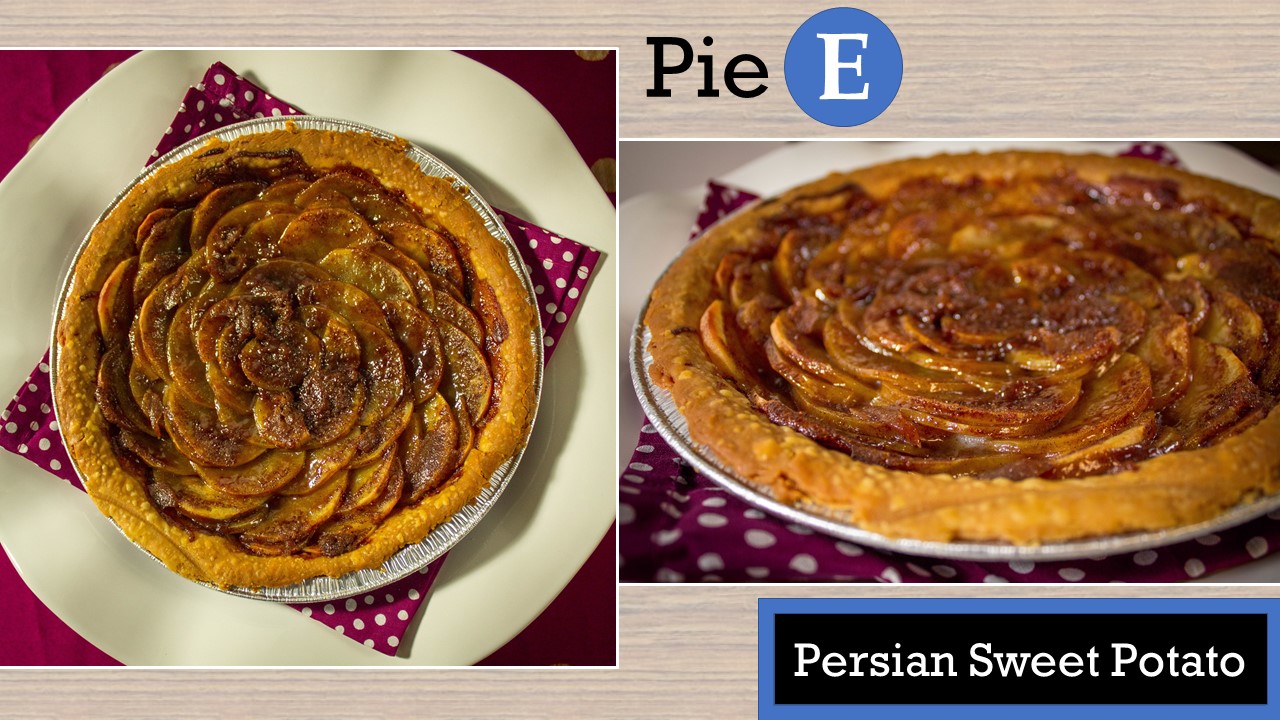
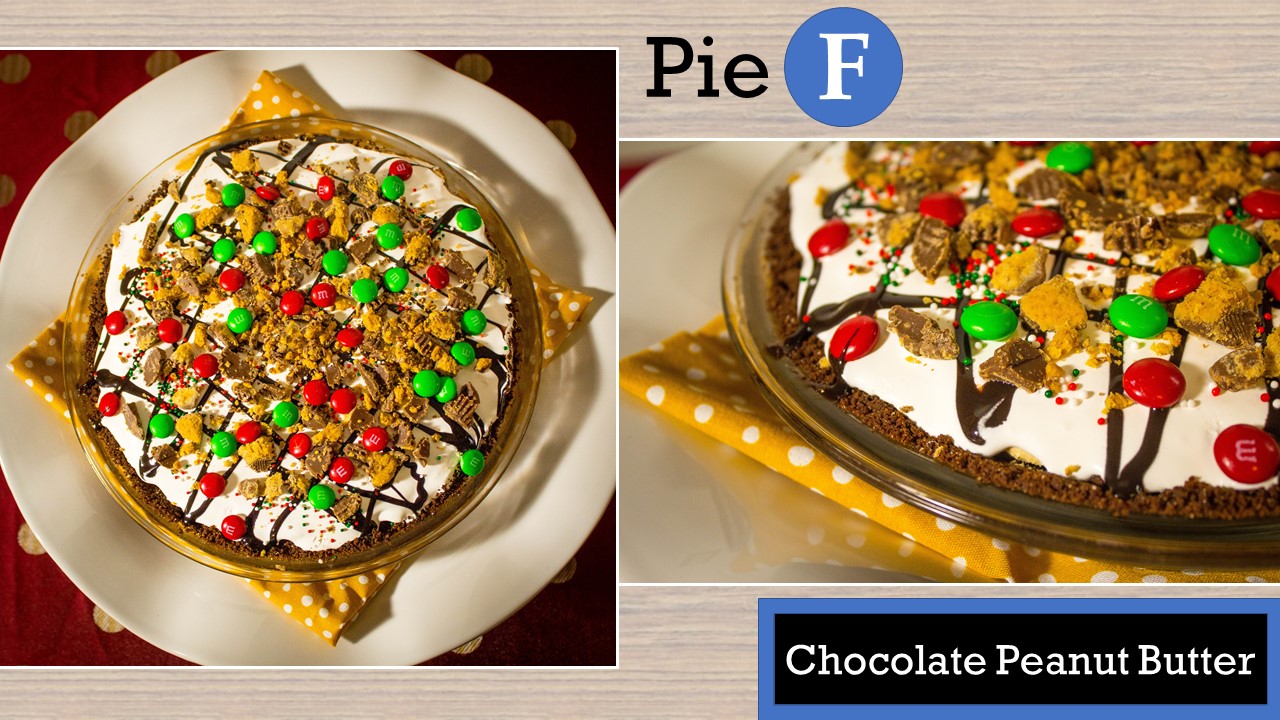
Impressive, right? I was happy to finish in a tie for second with this level of competition, and I was pleased with the feedback on my pie. The best part? Afterwards, a large group of people ate wayyyyyy too much pie, and I got to taste all the amazing results of the talented folks around me (except the pie that beat me; it was Pie C, and I’m allergic to nuts, sadly).
let’s make that pie
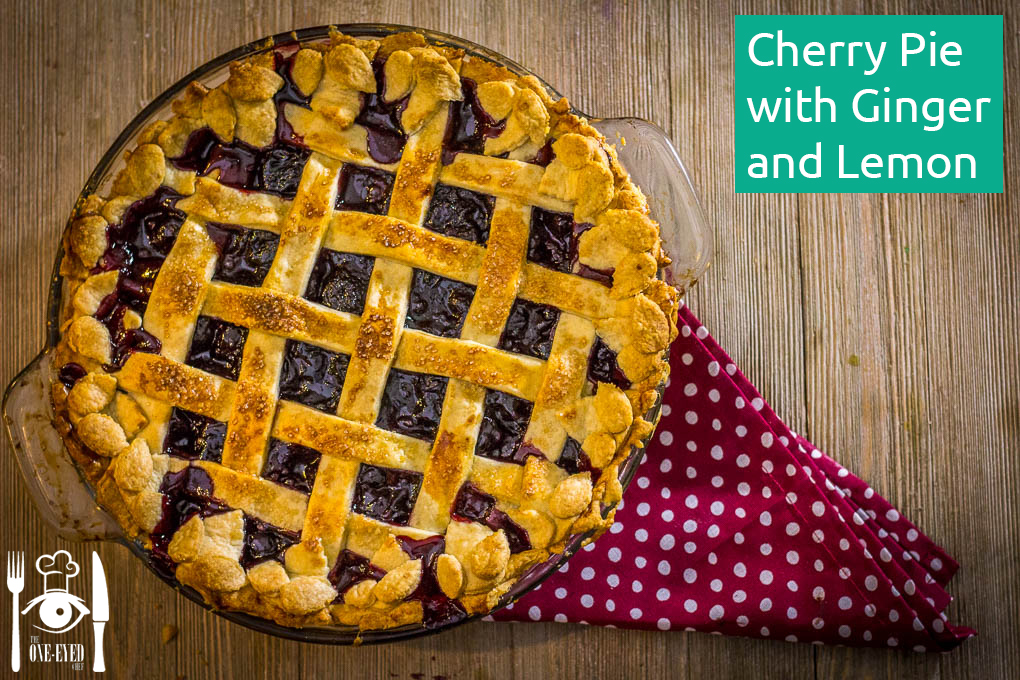
The cherry-ginger-lemon pie is bold, it’s acidic, it’s flavorful…. and you should make one right now. Here’s how I did it.
First, for the crust. If you’re here to learn to make a delicious crust, read on. If you plan on using a pre-made one, or you already know a great crust recipe, scroll down a bit.
Word of warning: I listed all the ingredients in weight, which requires a kitchen scale. If you don’t have one, 1) go get one, and 2) I’ll give you the rough conversions, but you also should check out this page, which gives common conversions from grams to cups, among other things. Also, I did some unique decorations, so I made a little bit more dough than the recipe card below calls for. Just so when you see the measurement in this picture, you won’t be alarmed.
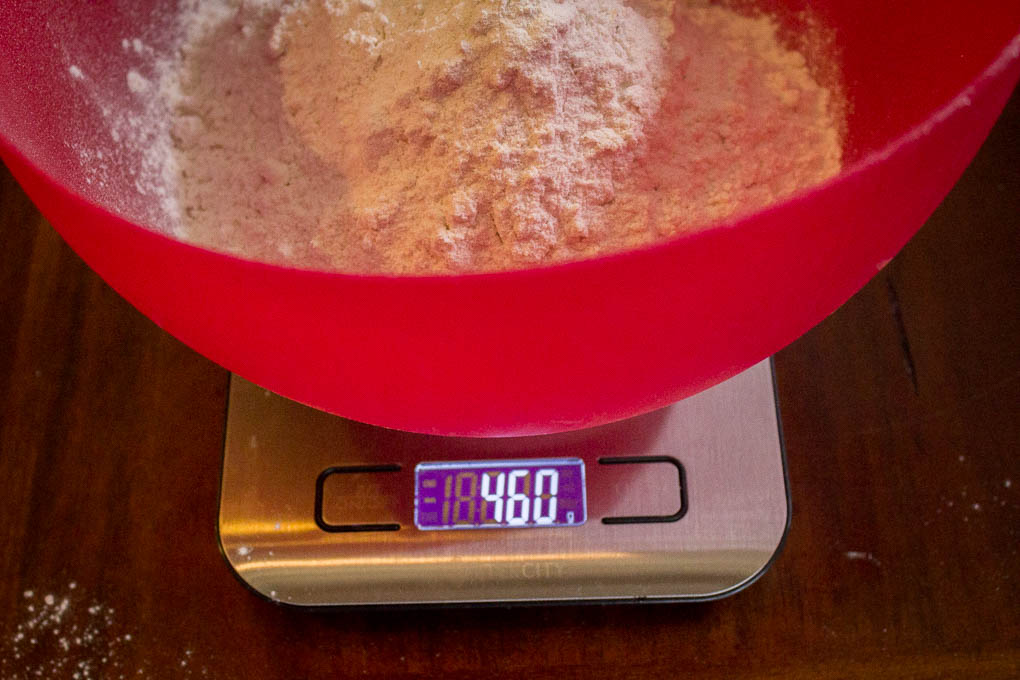
Anyway, the digital scale is amazing. That’s the whole point of this picture.
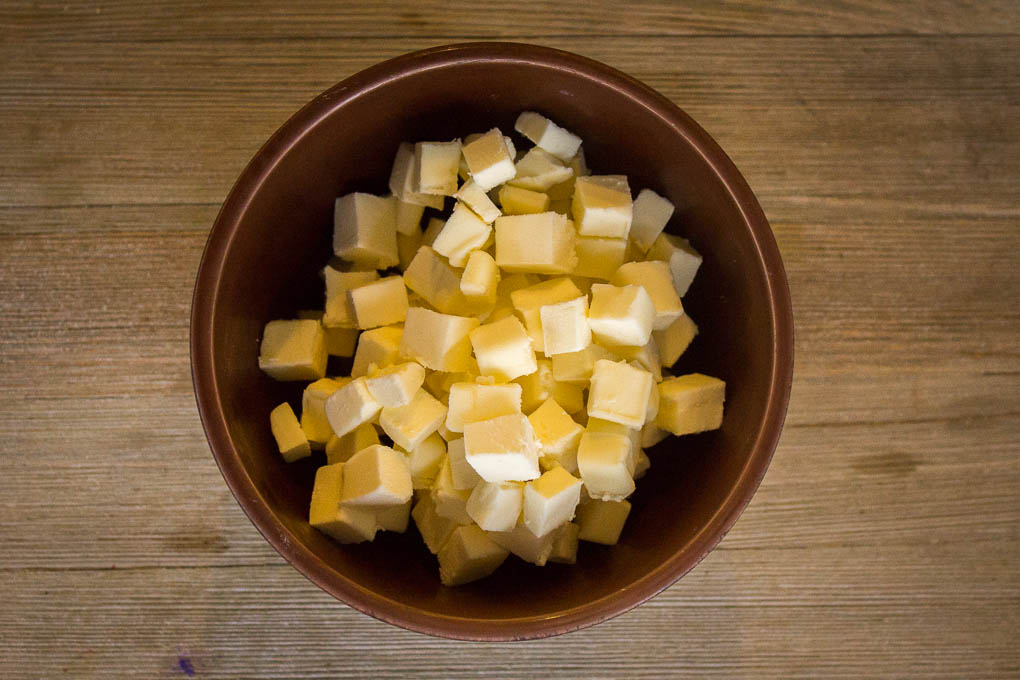
First things first: take your butter (12 oz, or 1 and 1/2 sticks) and cut it into small cubes. Put those cubes in the freezer for about 20 minutes before starting the dough. COLD butter is essential to having a flaky crust.
As the butter is chilling, start the dough by mixing together flour (365 g or 3 c), sugar (40 g or about 1/4 c),, salt (just a pinch), and vegetable shortening (1/4 c) in a food processor. Pulse it a few times to get the dry ingredients mixed. When the butter is chilled, add it to the food processor and pulse about 10 times, or until the dough starts to come together in small, pea-sized bits.
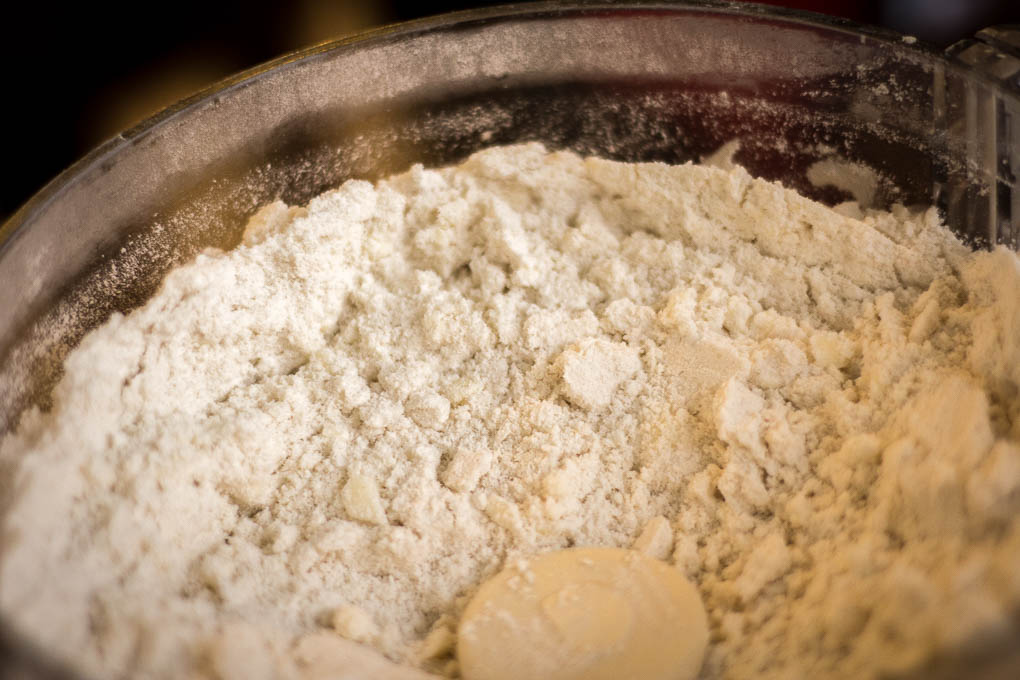
Add about 6-8 tbsp of ice water and pulse a few more times. The dough should come together a bit more and should stay together when you pinch a bit between your fingers.
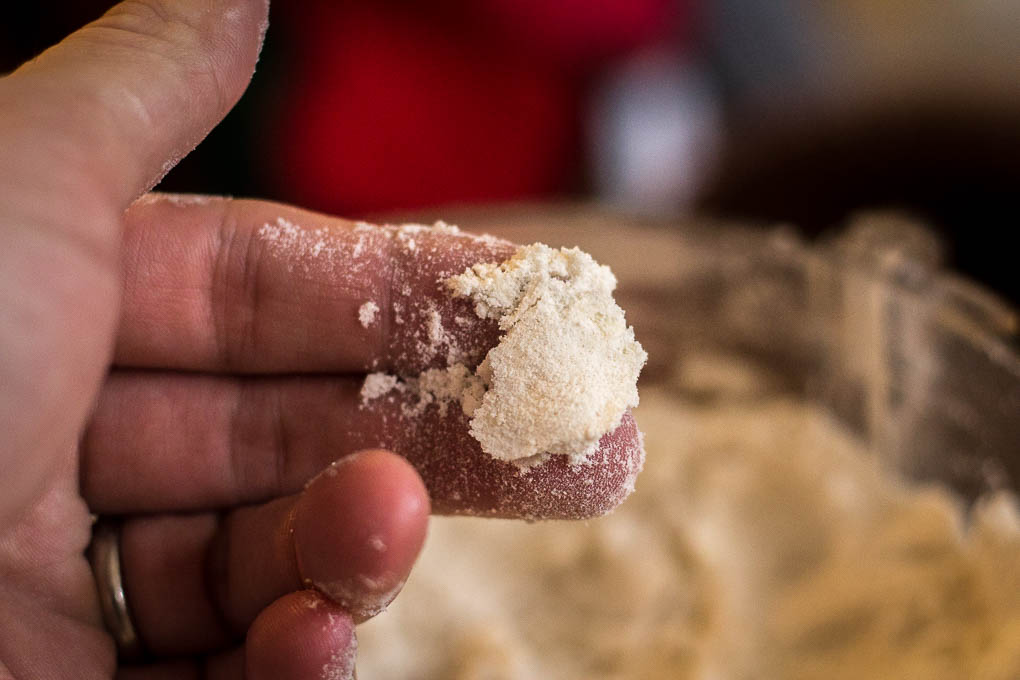
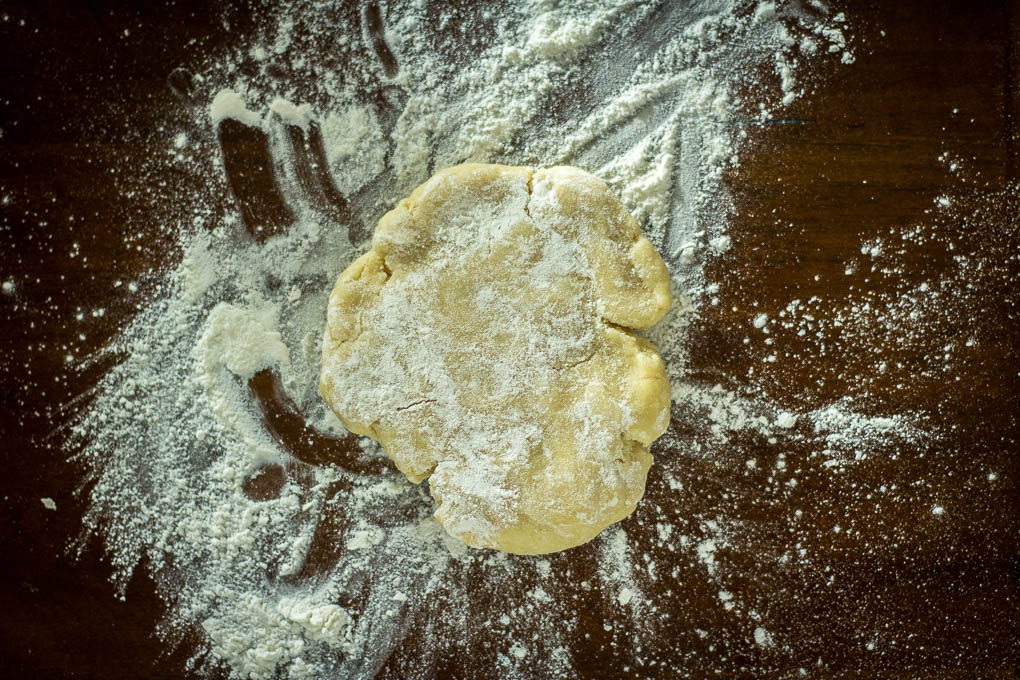
Now the trickiest part. It’s not really that tricky, either, just takes some patience and practice. Dump the mixture out onto a floured surface and have your ice water handy. Press the mixture together and press into it with your palms. Add the ice water a bit at a time and keep working the dough, until it turns from this
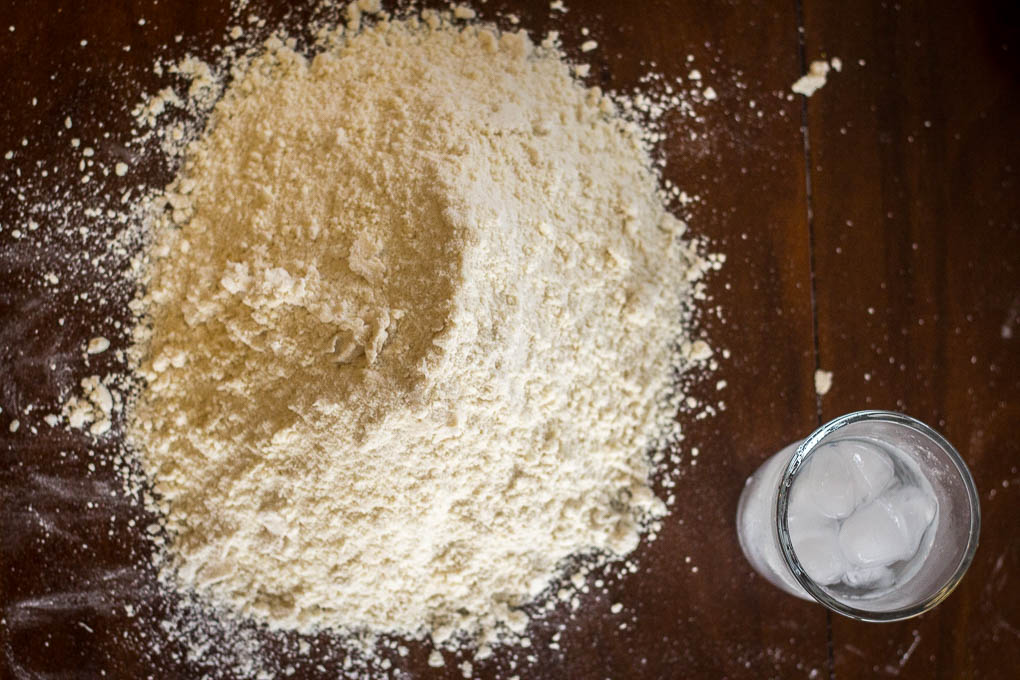
into this:
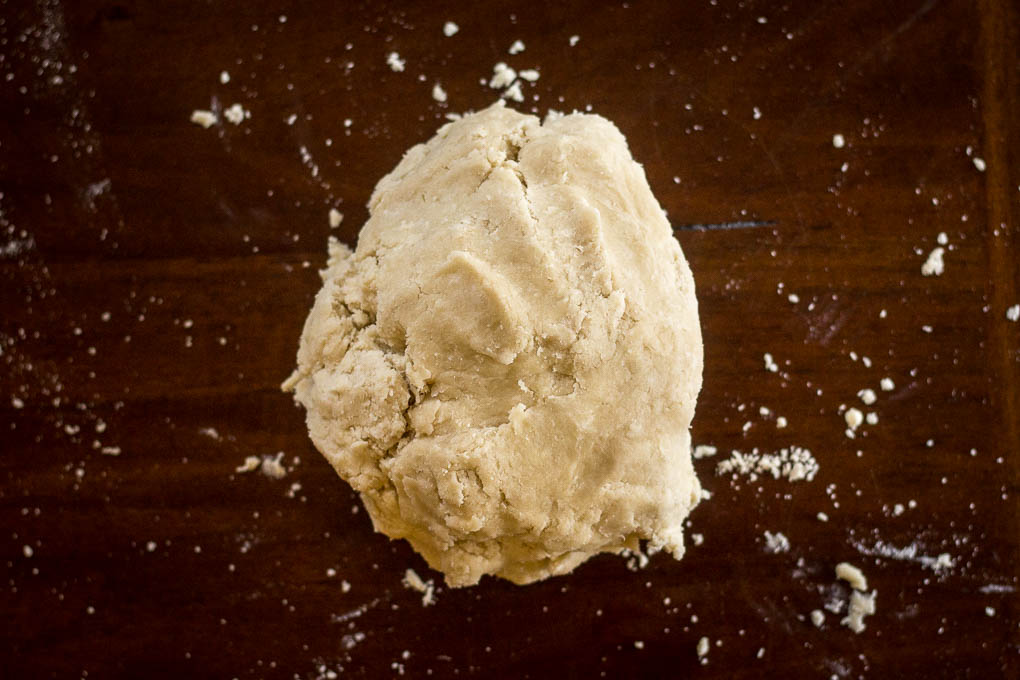
This may take you 4 or 5 minutes, so please be patient. Make sure you’re using ice water, too, and not just tap…. keeping this mixture as cold as possible will make sure it keeps its flakiness and texture. Once the dough comes together, split it in half, shape each half into a disc, wrap it in plastic, and shove it in the fridge for 2 hours.
Now then, let’s make a filling
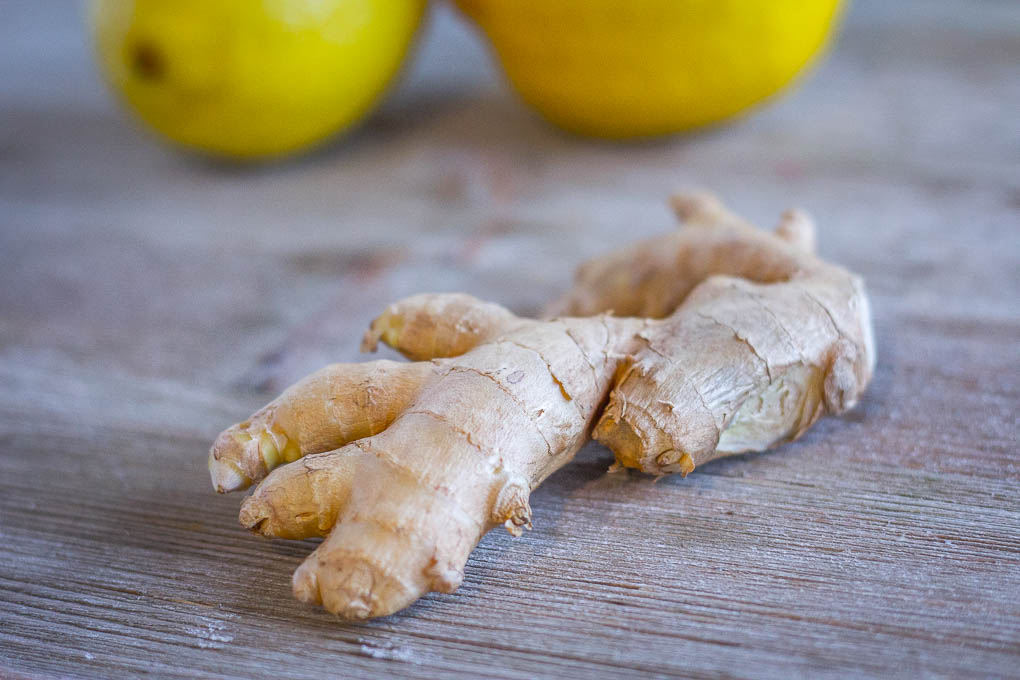
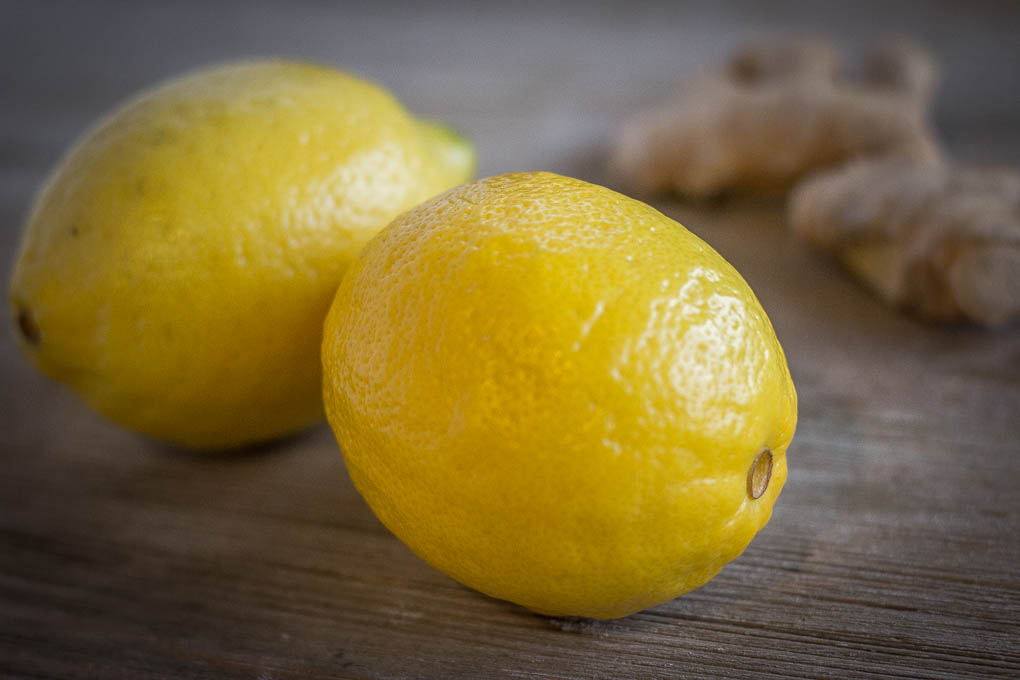
Now for the pièce de résistance: the cherry-ginger-lemon filling. Get your three superstars prepped:
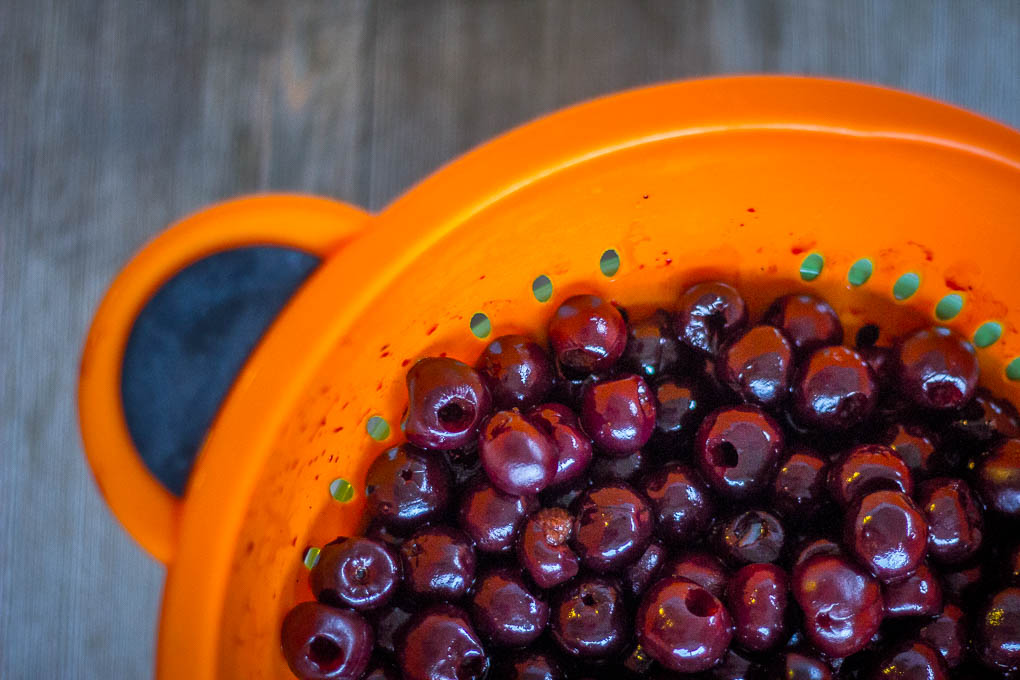
A note: if you’re using frozen cherries (I was), make sure to let them drain and defrost before you begin. You probably could put them right in the pan frozen, but you’re going to end up with a lot more liquid and an unpleasant texture.
I’m not going to show you any pictures of making the filling, because it’s as simple as can be:
- Throw your cherries into a large saucepot.
- Add some sugar. The amount is going to differ based on how sweet your cherries are and how sweet you like the filling. I used dark cherries, which aren’t terribly sweet, so I added 1/2 c of sugar. Anywhere between 1/4 and 3/4 c is within the normal range.
- Zest the lemon, juice the lemon, grate the fresh ginger, and add the ground ginger.
- Put it all together, mix very well, and cook on medium-high heat until it boils.
- Reduce to low, let it simmer for 20 minutes, then turn it off and let it cool.
A couple of notes on this: if the lemon you’re using isn’t massive, use two medium ones. We want a big punch of lemon here. Also, we are using both fresh and ground ginger, and that’s on purpose. They provide something a little different, and using both gives the mixture a little more depth. Finally, if your mixture is a little thick, you can add a slash of water. It’s more likely to be too thin, and you can whisk in some flour or cornstarch a tablespoon at a time.
Put it all together
Once your dough has chilled for 2 hours in the fridge, take out one of the discs and throw it onto a floured surface. Get your rolling pin ready for some action.
Roll it out pretty thin, about 1/8 inch thickness. The circle should be a couple inches wider than your pie pan. To get it into the pan, here’s my favorite method: roll it carefully onto your rolling pin, then unroll it right over the top of your pan.
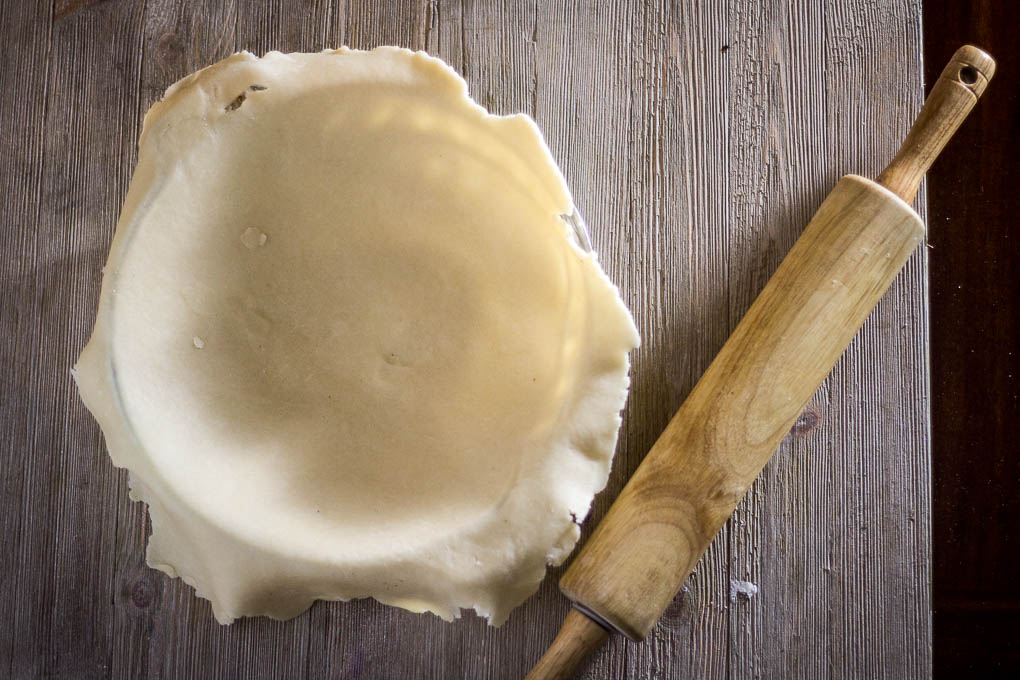
Now, carefully push the dough into the corners until everything is flush, then trim the excess dough to about 1/4 inch around the edges. Take that 1/4 inch and fold it under itself to create the rim, then pour the chilled mixture into the pie. Use a slotted spoon to make sure there’s no excess liquid.
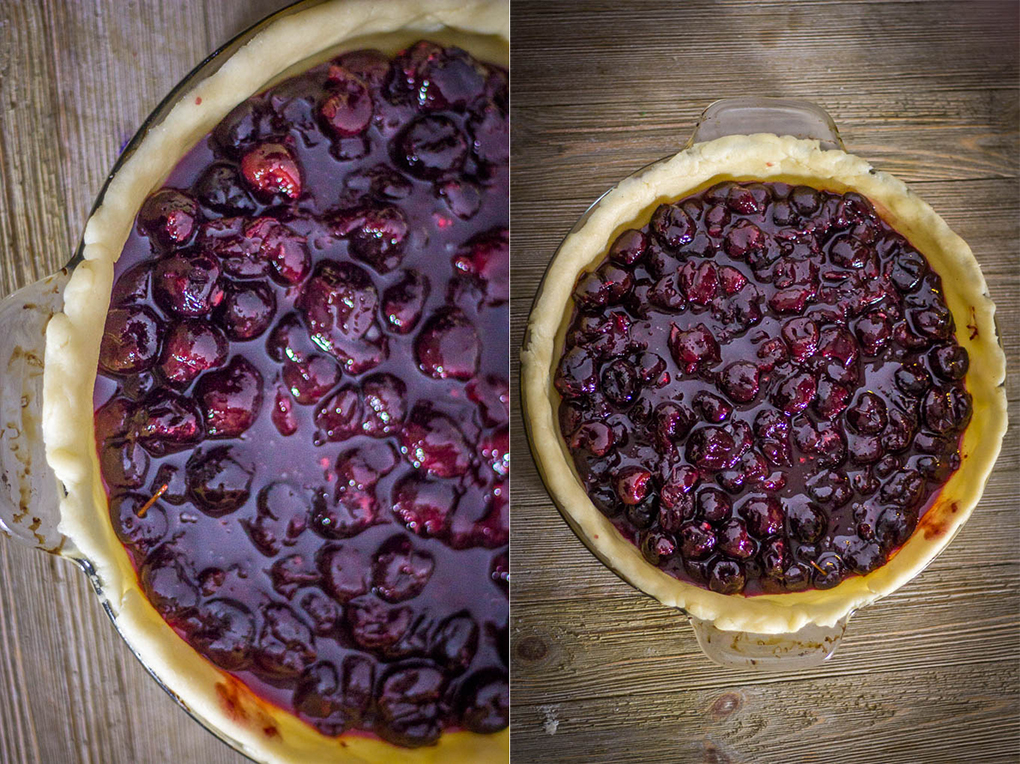
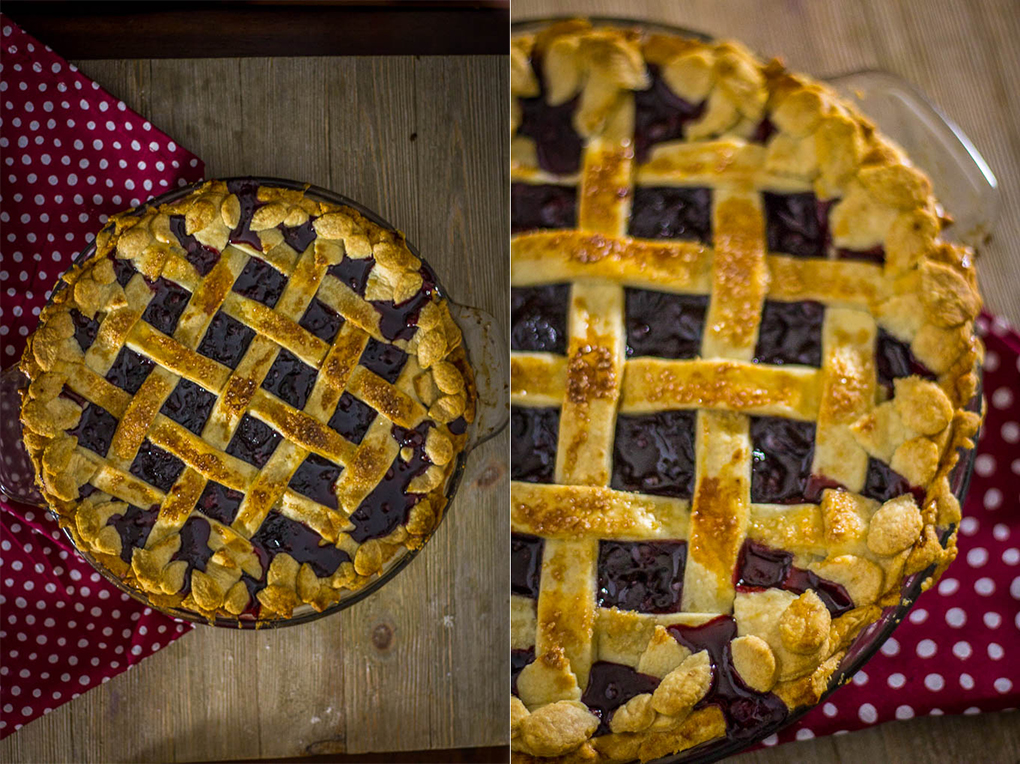
Starting to be beautiful, right? Now it’s time for the top crust. Take it out of the fridge and roll it out, then place it on top in a similar manner. If you’re doing a design, a lattice is always a good presentation. In my competition version of this pie, I did some braids on top.
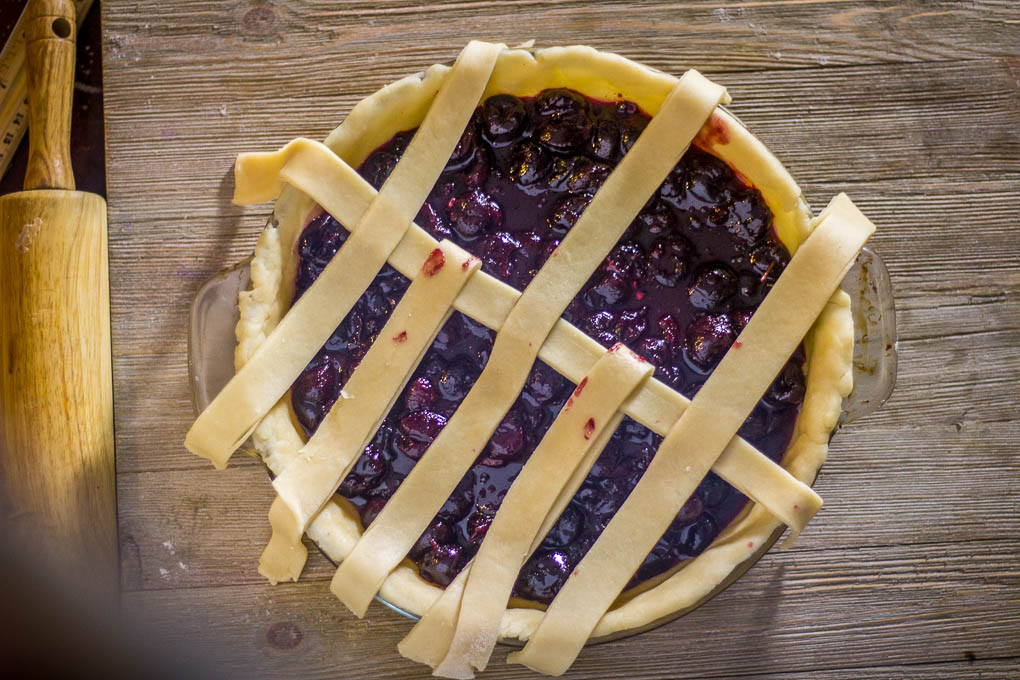
If you haven’t done a lattice, it’s not overly complex. Measure out 2-cm pieces of your dough until you end up cutting 10 strips:
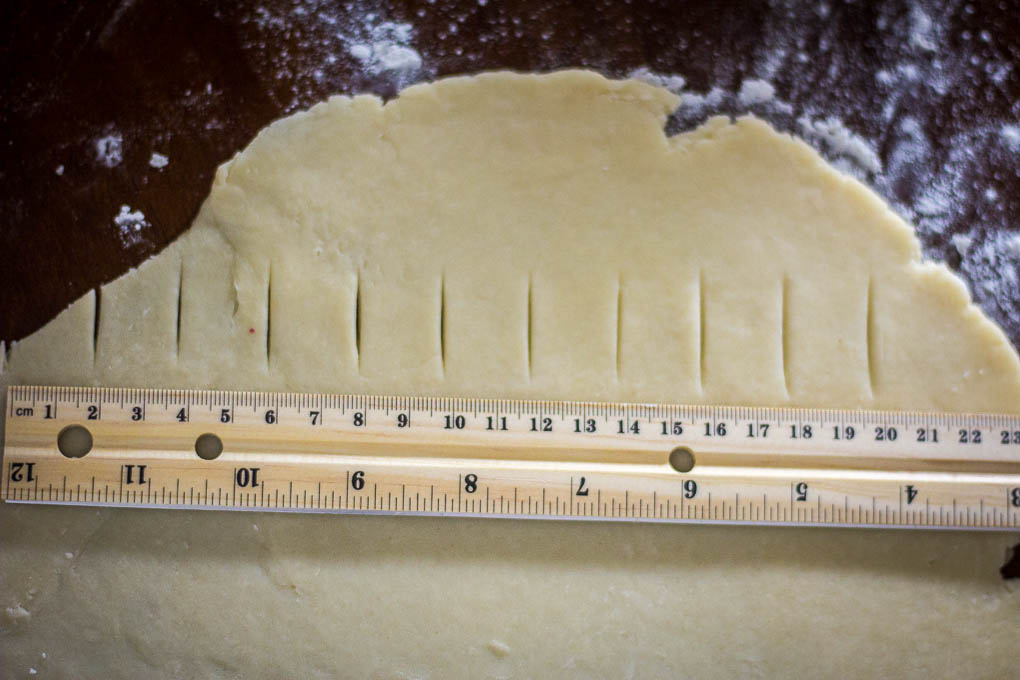
Start by placing every other strip in one direction, then prep the other five strips. With each step, you’re going to peel down every other strip running in the first direction. For example, peel back the first, third, and fifth strips:
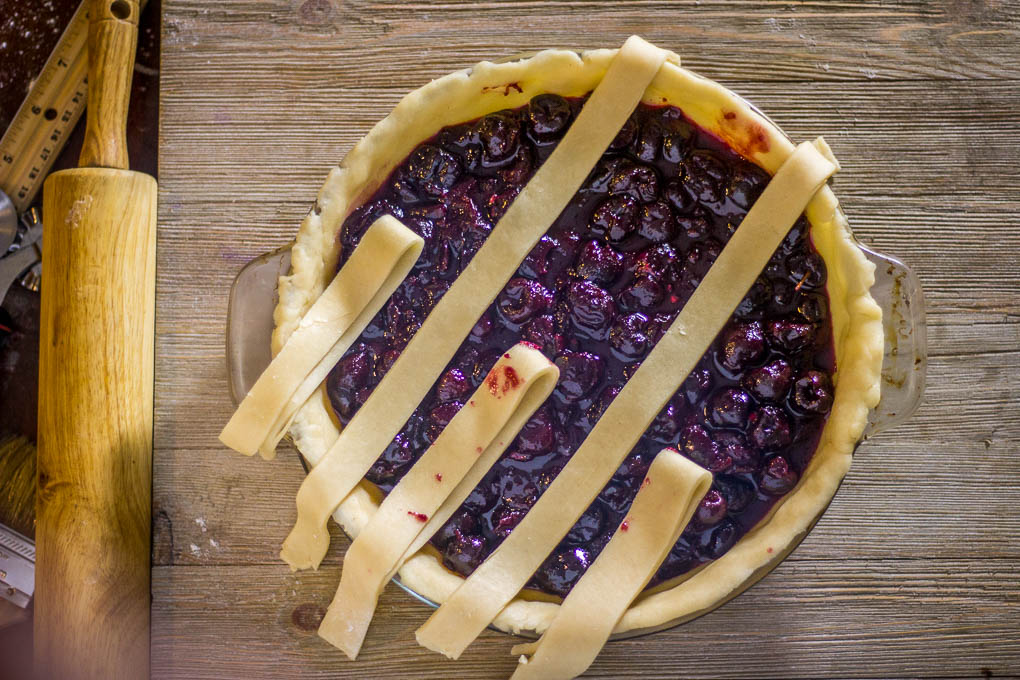
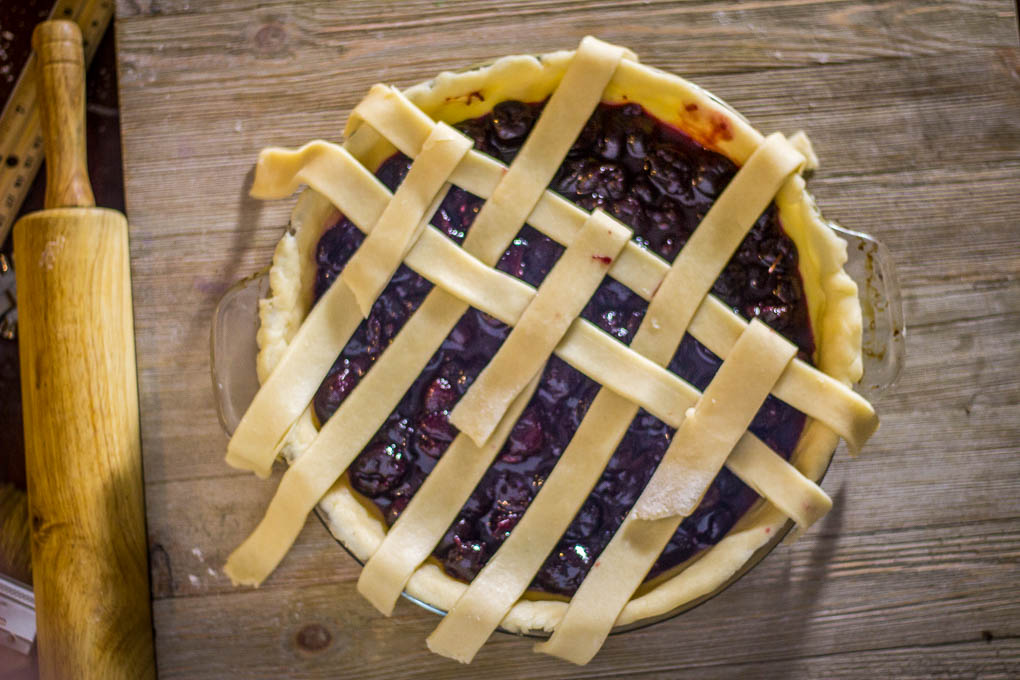
Then place the opposite strip and replace the folded pieces. Next, fold down the other strips (in this case, the second and fourth:
Then put the second opposite strip down, and repeat the process, pulling the first, third, and fifth down again:
Repeat the process with all the remaining strips, then trim the excess and tuck it under the rim. I also did some extra decorating on mine, using these cool fondant cutters I picked up from Amazon for 10 bucks:
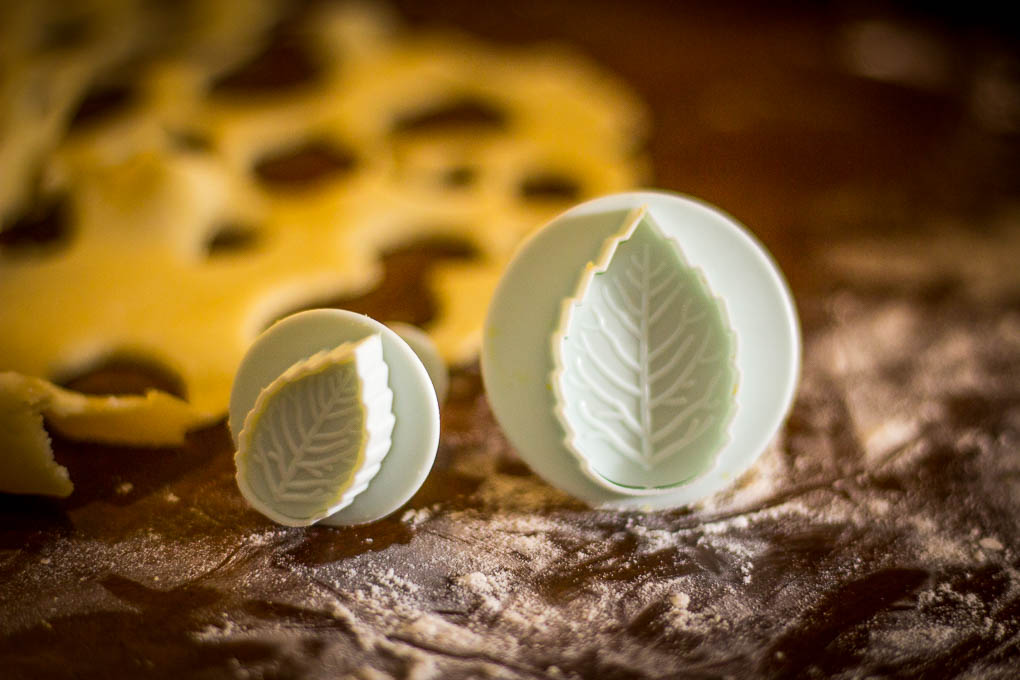
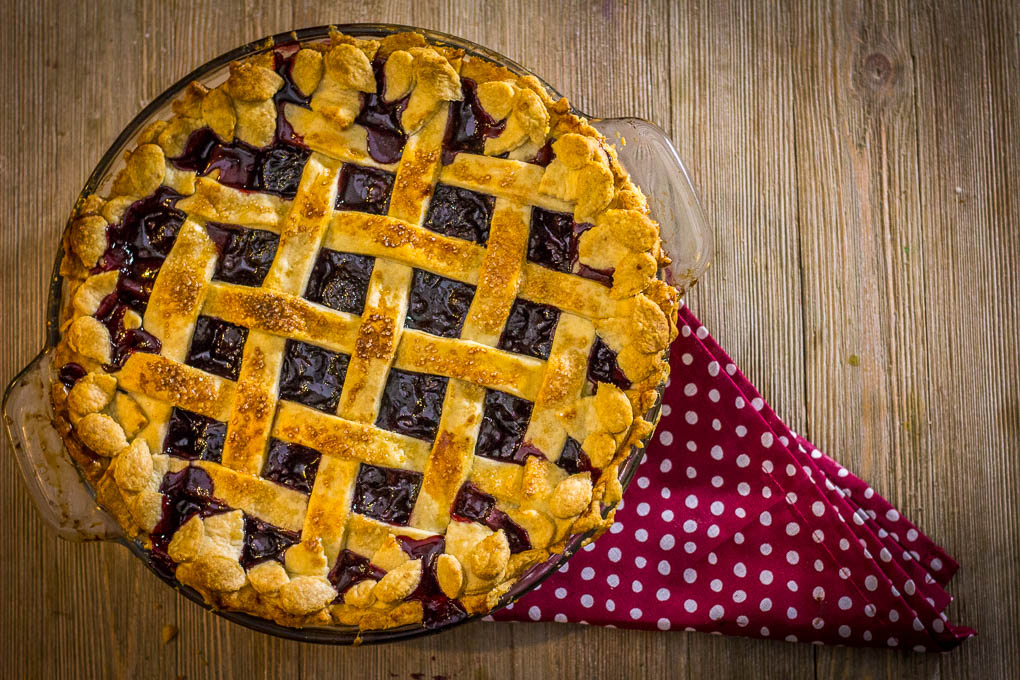
I used leaves for this recipe, and I used flowers for my competition pie. This is, of course, totally optional, but I love the presentation and the whole set of fondant cutters came with 40 pieces, so there are tons of possibilities. Here’s how I was looking before heading into the oven:
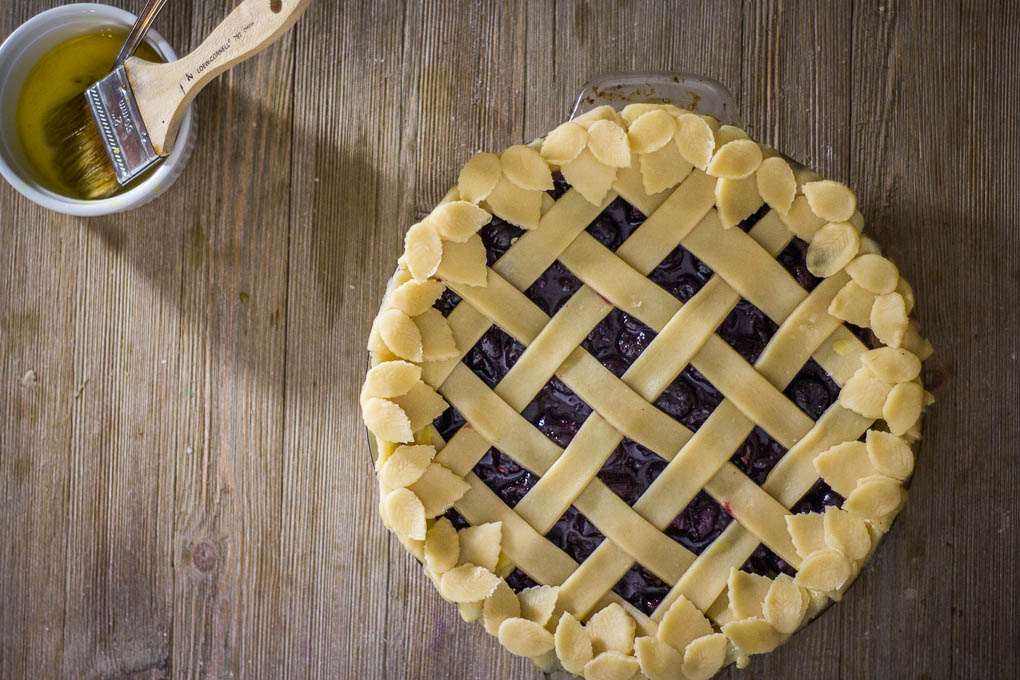
Last note: you’ll notice I have an egg wash in this photo. I prefer to use a whole egg and a bit of water, but there are lots of egg wash possibilities, each of which will affect your crust a bit differently. Check out this article that explains 7 different options.
Get that bad boy into a 375-degree oven and cook for 50-60 minutes, or until the mixture is bubbling and the crust is nicely browned. Keep an eye on it — you may want to cover either the rim or the entire top with foil at some point to keep it from burning.
That’s it! Let it cool before you slice into it, and be prepared for the intense flavor bomb that’s coming your way. Enjoy!


| Prep Time | 1 hour |
| Cook Time | 80 minutes |
| Passive Time | 2 hours |
| Servings |
|
- 365 g all-purpose flour
- 35 g sugar
- 12 tbsp butter 1/4-inch cubes
- 1/4 c vegetable shortening
- pinch salt
- 10-12 tbsp ice water
- 40 oz cherries fresh or frozen, pitted
- 1/2 c sugar more or less to taste
- 1 tsp ground ginger
- 1 inch piece fresh ginger
- 1 lemon very large, or 2 medium
- all-purpose flour as needed for thickening
Ingredients
Crust
Filling
|
|
- Cut the butter into 1/4-inch cubes and place in a bowl. Place the bowl in the freezer and chill for about 20 minutes.
- Pour the flour, sugar, salt, and shortening into the bowl of a food processor and pulse a few times (if not using a food processor, mix the dough a few times with a pastry cutter). Add butter and pulse until the dough starts coming together and forms pea-sized clumps.
- Add 6 tbsp of the icewater and pulse a few more times. Pour the dough out onto a floured surface and, adding a bit of water at a time, work the dough until it comes together in a ball. This may take 4-5 minutes.
- Split the dough into two equal pieces, shape into discs, and wrap in plastic. Place in the fridge for 2 hours.
- If using frozen cherries, place in a colander and let defrost.
- Place the cherries in a large saucepot and add sugar, salt, and ground ginger. Grate the fresh ginger and zest the lemon over the top of the cherries. After the lemon is zested, juice it into the cherry mixture.
- Cook on medium-high heat until the mixture boils, then reduce to a simmer and let cook for 20 minutes, stirring occasionally. If the mixture is too thin, add flour 1 tbsp at a time and incorporate it thoroughly. Remove from heat and let chill.
- Remove one of the dough discs from the fridge and place onto a floured surface. Using a rolling pin, roll the dough out until it's about 1/8 inch thick (this should be about 2 inches wider than the pie pan).
- Lightly oil or butter the pie pan, then place the bottom crust in. Lightly press the edges into the corners of the pan until every piece is pressed against the pan.
- Pour the cooled filling into the bottom crust, using a slotted spoon and discarding any excess liquid.
- Roll out the second crust and place on top. If not using a lattice or other decoration, make sure to cut slits in the top crust to let steam escape.
- Cook in an oven heated to 375 degrees for 50-60 minutes or until the crust is golden brown. Let cool completely before serving.
Are you tired? I’m worried about you. Please be ok!