Well, ok, it’s kinda classic and it’s kinda Greek, but not in the way most people think of it.
Gryos are a lot like me. We’re unique. We’re bold. We can be addictive. And though we were born elsewhere, we both came of age in the magical city of Chicago.
I won’t get too much into a history lesson, but like so many great dishes, the gyro is a descendant of the Turkish döner kebabs, along with the Arab world’s schwarma and Mexico’s al pastor. It arrived in Greece in the 1920s (not so much “ancient” or “classic” as many folks expect), appearing mostly in the carts of street vendors and never really widely shared.
Eventually, it would up in The States in the late ’60s or early ’70s (still a good amount of debate about its actual origin), and by the mid-70s, was being mass-produced by a few different companies in Chicago. Fast forward a bit, and you can see many of them ending up in my belly, both in Chicago and, more recently, through my many stopping places in Northern California.
By the way, if you’re into food history and want to read some interesting stories about gyros, click here and here.
But most likely, you’re not here for history. You’re here for food. And, hello, gyros taste delicious. A couple of things to get out of the way, quickly:
First, despite the struggle some folks have, it’s pronounced like YHEE-ros. None of this JY-ro business, Seinfeld.
Look, even Luke Bryan can figure it out.
Second, the real gyros are made using a standing rotisserie that cooks meat while it rotates, and the crispy bits are carved off while the next layer is exposed. We don’t have the technology to do that.
So, that is to say….. this isn’t going to be your traditional gyros. But that’s good, because there is no tradition, really. This is going to be a bastardized version of a Greek-American bastardized version of a classic Greek dish that isn’t classic or Greek that was bastardized from a Turkish treat. And it’s gonna be fantastic. Let’s go.
the first pita the puzzle
Ahhhh, see what I did there? Dad jokes.
So listen, if you wanna buy some packaged pita and move onto the next step, I’m not gonna get in your way. Just know you’ll be missing out on something magical that takes a pretty minimal amount of effort. The gyro meat is a little tricky, so really if you’re gonna commit to that, adding some homemade pita is a breeze, comparatively.
Simple dough; to start, get some water and milk up to 110 degrees F (this is just above lukewarm). Put it in the bowl of a stand mixer and add yeast, sugar, salt, and oil. If you’re using active dry yeast, like I do, it needs to sit for 10 or 15 minutes until the yeast activates. You’ll see it start to bubble up when this happens. This is a critical step, so please don’t rush it.
Add in the flour a bit at a time, maybe 1/2 c or so, until the dough forms into a smooth ball and pulls away from the sides of the bowl. As with any bread (or flour-based dough in general), the amount of dough is going to vary based on a lot of issues beyond your control, including temperature and humidity of your kitchen. So I estimated about 3 c to make 8 pitas, but anywhere between 2-1/2 and 3-1/2 is perfectly normal. What you’re looking for is a dough that comes together but is still a little tacky.
When you get to that consistency, either crank up the stand mixer to medium-high and knead it for 5 minutes, or knead it yourself on a lightly-floured surface for 4-5 minutes. This is a bit more rigorous but will give you a good feel for the consistency of the dough. You want the final product to be smooth and elastic. When you get there, form the dough into a ball and place in a lightly-oiled bowl. Cover with plastic wrap and let it sit for an hour, or until doubled in size.
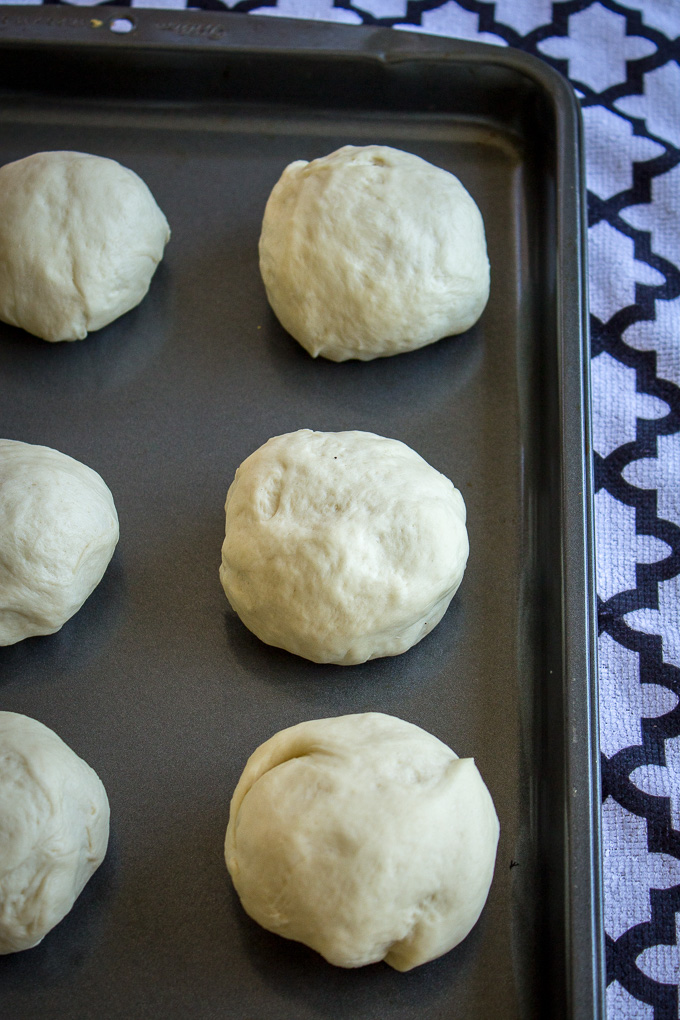
Once it’s doubled, take it out from the bowl, pound the air out of it, and separate into 8 equal pieces. Roll those into smaller balls, place on a cookie sheet or tray that leaves enough space that the dough balls aren’t touching, and cover with a kitchen towel for 15 more minutes.
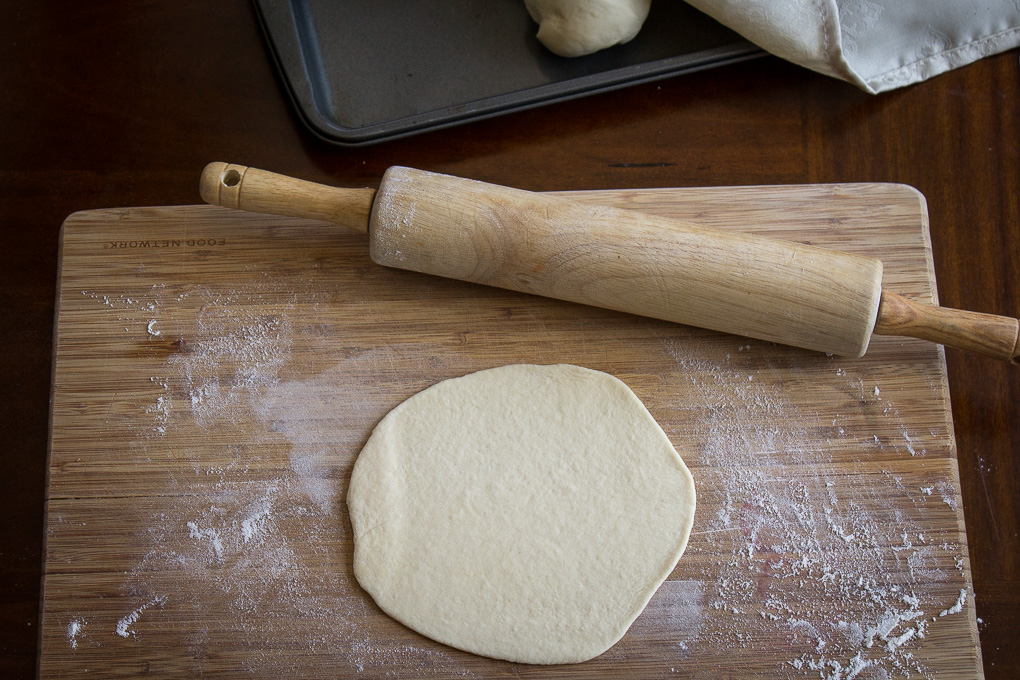
Finally, when it’s time to cook the pitas, heat a skillet or griddle on medium-high heat. Roll each dough ball out into a flat circle about 1/8 inch thick (this is pretty thin, which is what we’re looking for. Think more like tortillas than bread for this application).
Place that rolled-out pita onto the griddle for about 1 minute per side. If you see air bubbles forming inside the pita, that’s ideal, but do your best not to pop the bubble or really mess with it at all. Let it be! When you remove them from heat, the air will dissipate naturally. You want these to be just cooked on each side with some signs of browning, but not burning. They still should be soft.

Now then, you can make these a few hours ahead of time, or right at gyros delivery time. If you make them ahead, just cover them up and reheat for a minute or two in the oven just before serving.
Now mix up some meat
Now the fun part. Actually, this is gonna seem kind of gross when you see these pics, and especially when you touch this stuff for the first time. But trust me, this is the correct process and the results speak for themselves.
First things first: mix the ground meats and the spices together, cover it, and let it chill in the fridge for AT LEAST AN HOUR. This may be the most important part of the entire recipe — the meat needs to interact with the salt well ahead of time to prepare itself for the blending process that’s to come. Salt serves to unravel proteins, which makes them them easier to manipulate and also traps in moisture, which is crucial here. Salt doesn’t “break down” proteins as many believe — that’s done by acids, which is why any good marinade used to tenderize meat has a good amount of lemon, lime, or vinegar.
Once your meat is nice and chilled, gather your food processor and the roughly chopped onion and peeled garlic. Side note, I put my food processor bowl and blade in the freezer for about 15 minutes before starting. The colder, the better.
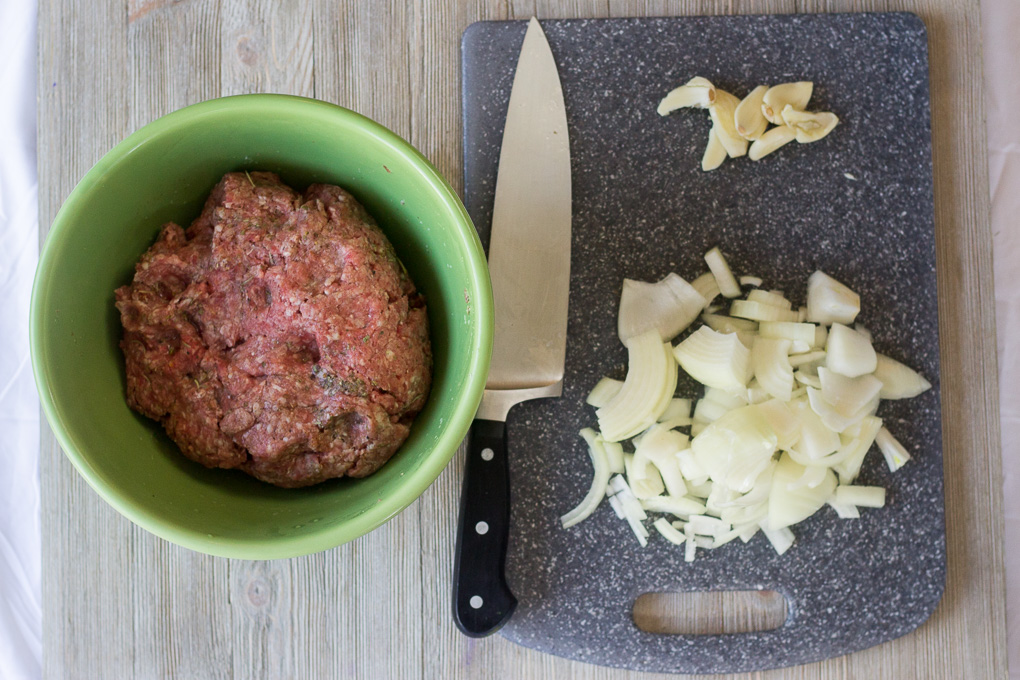
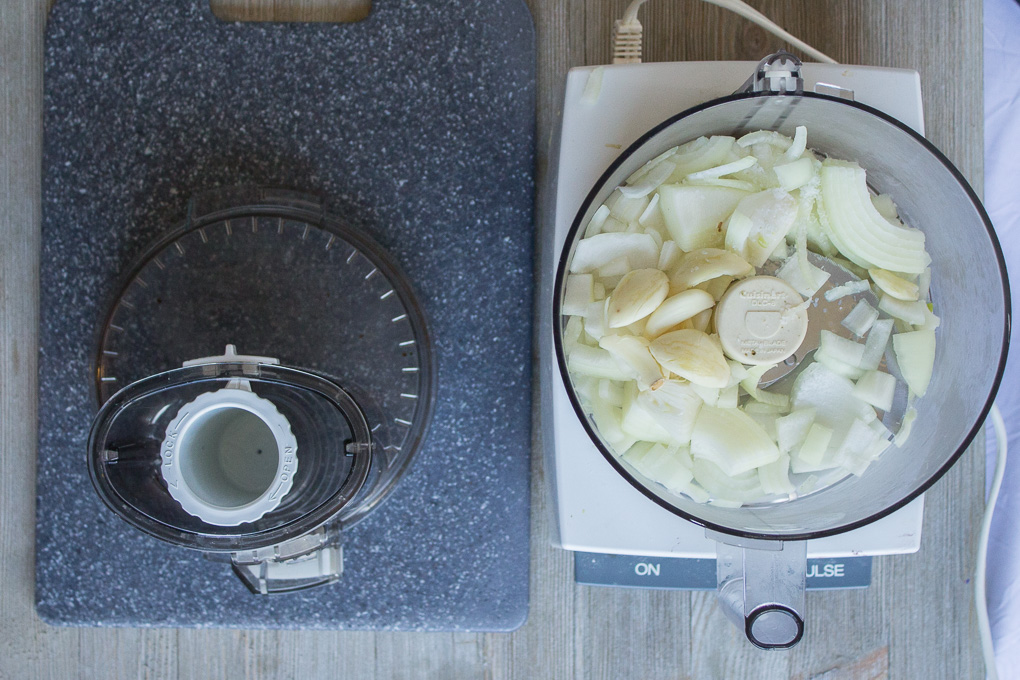
First, pulse together the garlic and onion til it forms a paste.
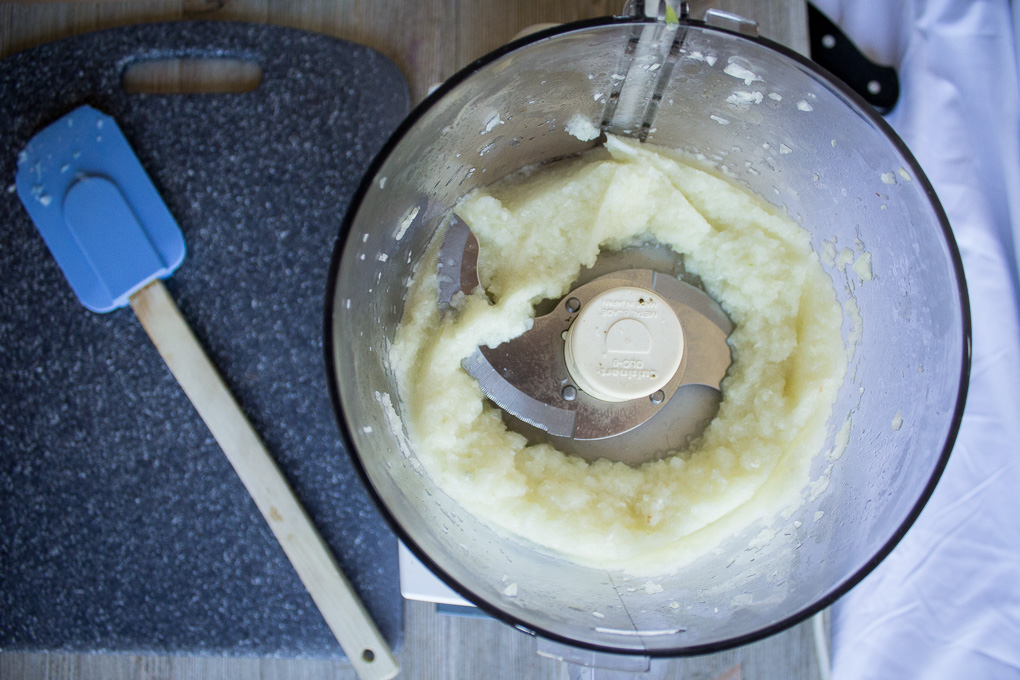
Looks delicious, right? Now, add that cold meat mixture on top, and blend away until you have a smooth mixture. You’ll likely have to scrape down the sides of the bowl with a spatula a few times to make sure everything’s getting mixed together well.
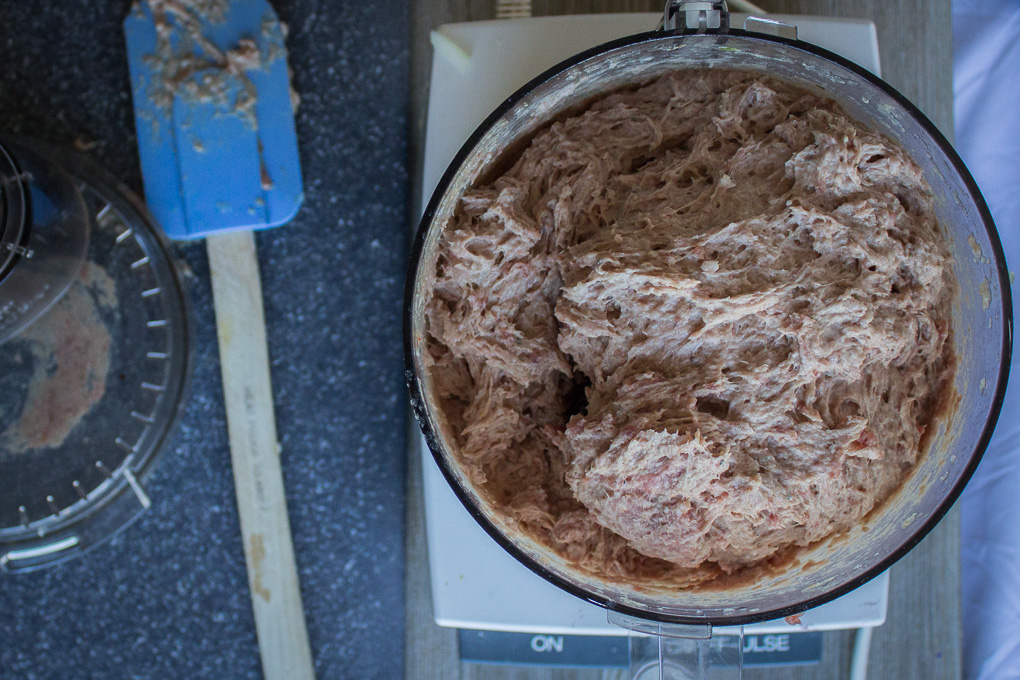
It doesn’t look pretty, but it’s going to make magic in just a few moments. Move that glob of meaty goodness onto a sheet tray lined with foil, and separate it out into two piles. Form each of those piles into a rectangular loaf that’s about 1/2 inch thick. Try to square off the sides as much as you can so slicing will be easier once it’s cooked.
Get that sheet tray into an oven heated to 300 degrees F for 30 minutes. After 30, carefully flip the loaves over and cook for another 20. Make sure the internal temp has reached 165 degrees, and if it has, remove from the oven.
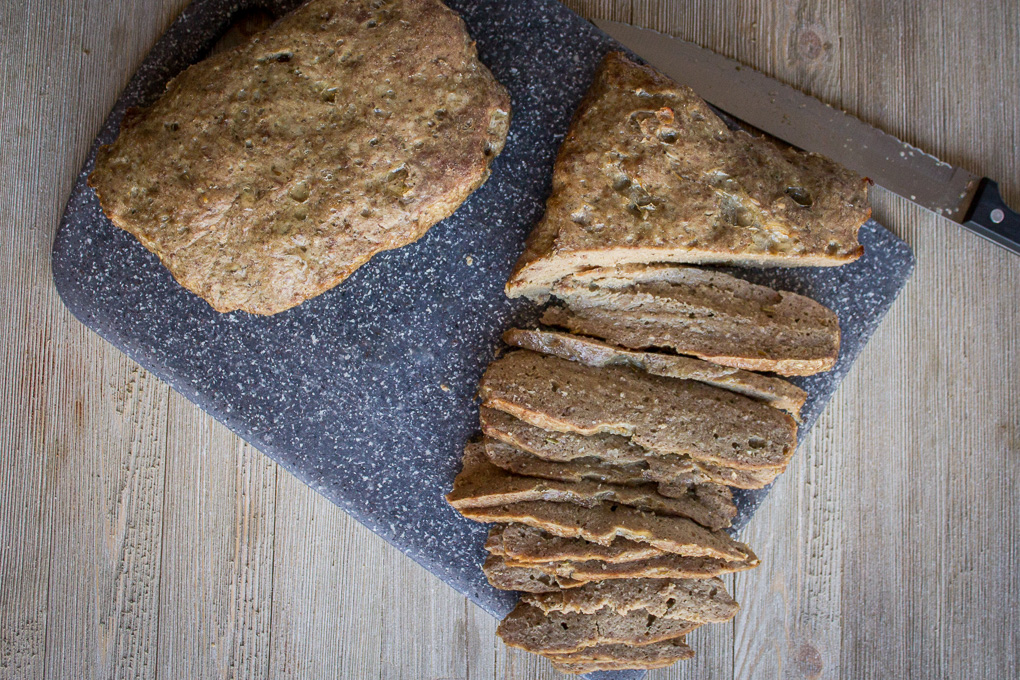
Since we didn’t use any egg or breadcrumb or any other kind of binding agent, we need to take all necessary precautions to make sure 1) the loaf is solid when we slice into it, and 2) we’re retaining as much moisture as possible. The necessary precaution at this point? Let it rest for 20 minutes on a cutting board before slicing.
After 20, grab a carving knife (or your longest sharp knife, ideally serrated) and slice thin pieces of the meat from the loaf. Try to make the cuts as consistent as you can with the thickness. Get the cuts as thin as you can while still maintaining control.
Finally, time to crisp it up. Either:
- Preheat your broiler to high and place your oven rack at the second-highest position, or
- Heat a cast-iron skilled over medium-high heat on the stovetop.
Cook the meat, either in the pan or under the broiler, for 2-3 minutes per side or until they’re nice and crispy on the outside.
put it all together
Time to construct! Well, almost.
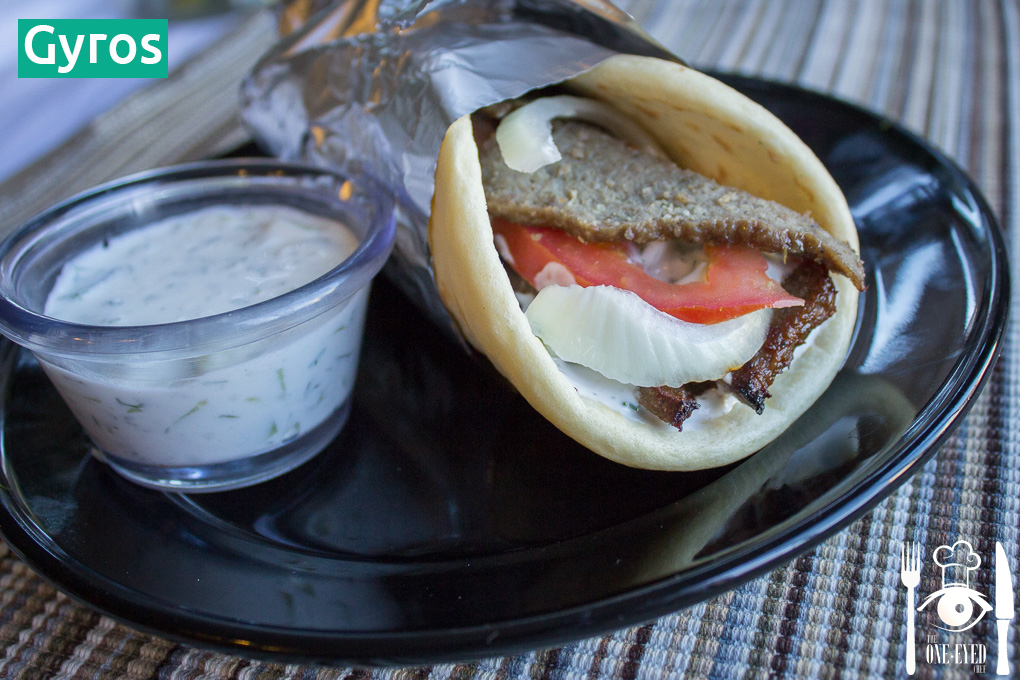
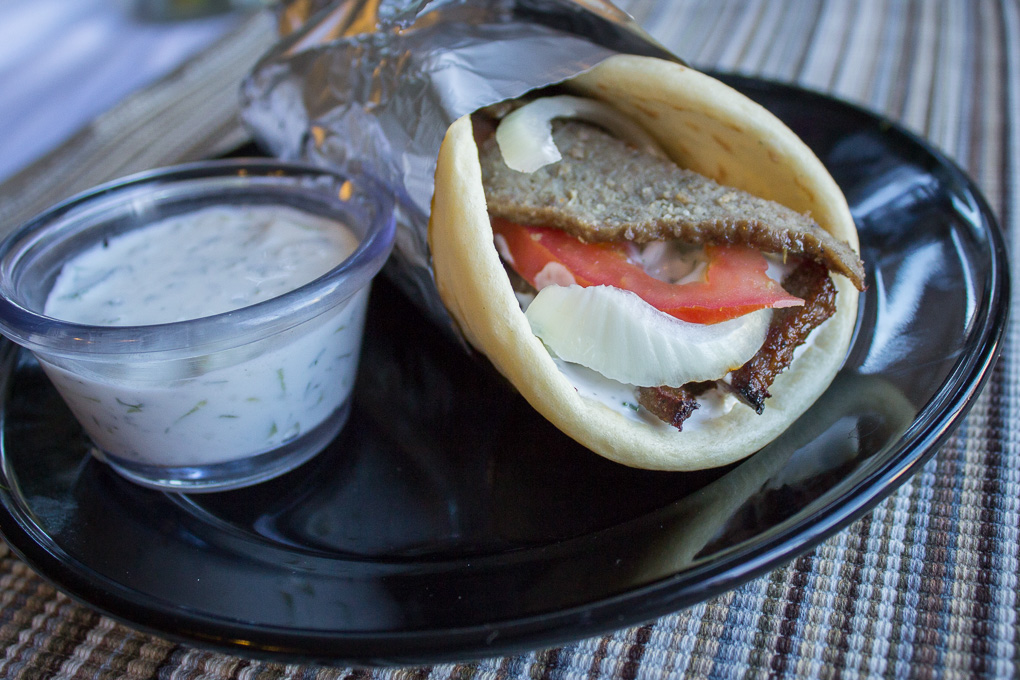
We need to make maybe the greatest sauce in the world, Tzatziki. This is a very simple Greek yogurt-based sauce that can go on just about anything. We need to whip some together quickly to top the gyros.
By the way, I did this during the time my meat was cooling in the fridge. It’ll only take 10 minutes or so; find a good time during your process to pull it together.
To make the tzatziki, simply mix all the ingredients together in a bowl and let it sit for a few minutes. I used both mint and dill in mine, but you could use either one exclusively if you wish (the “traditionalists” seem to be split on which is appropriate, though I found slightly more going with mint).
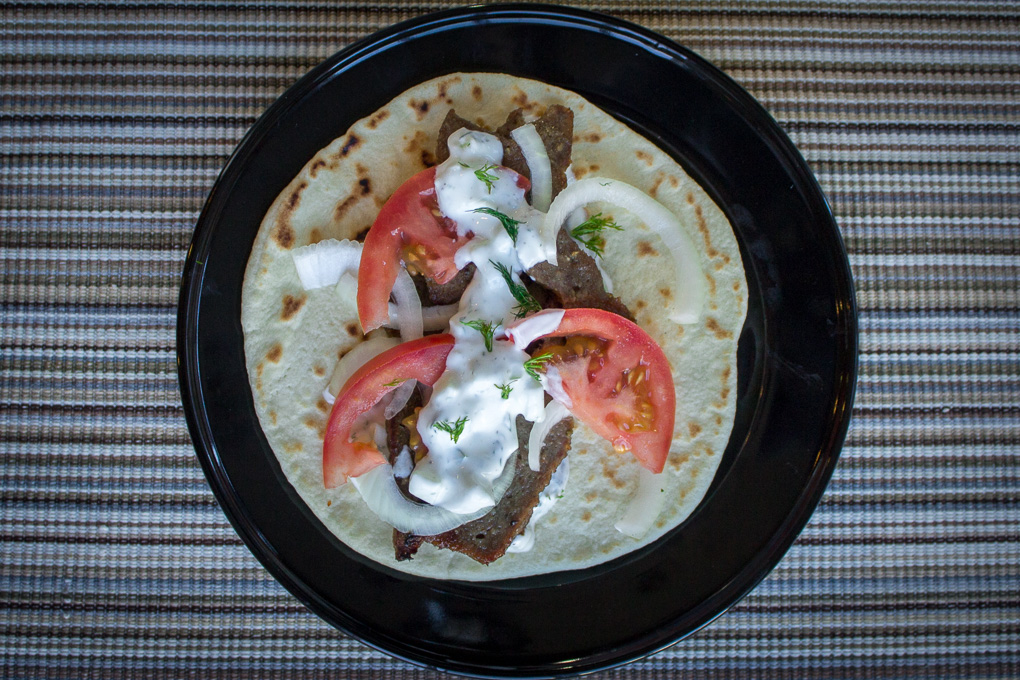
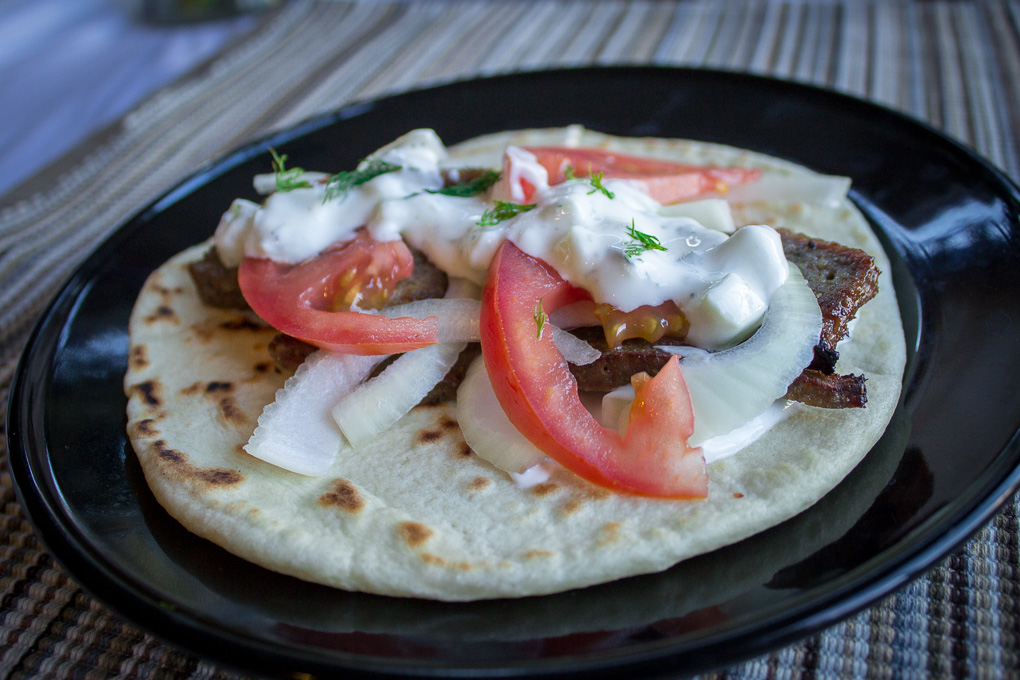
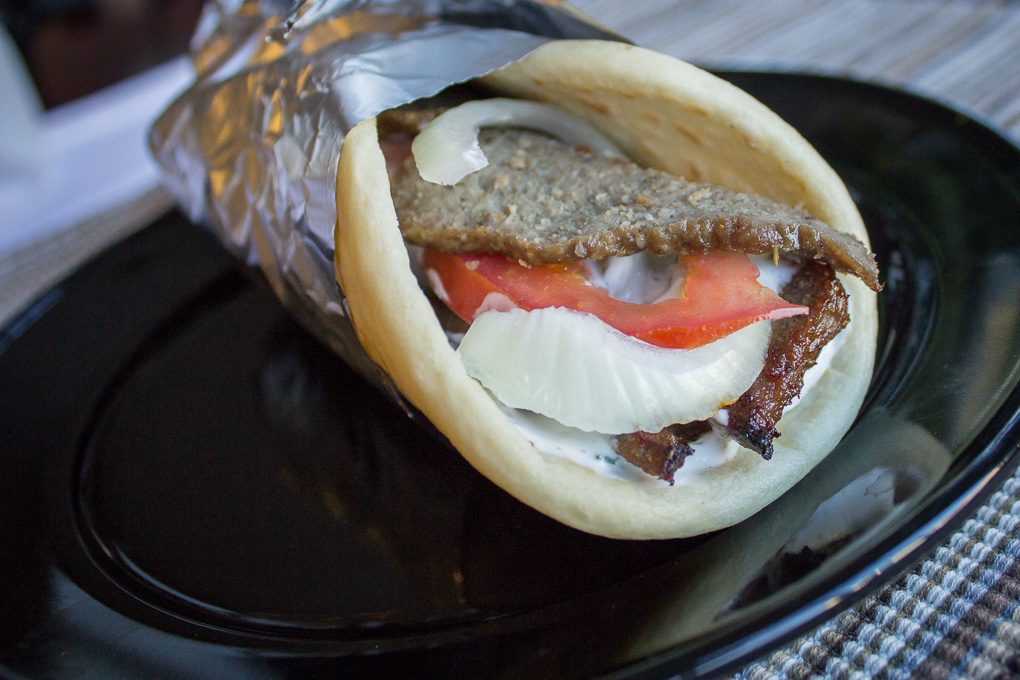
On to the gyro: place a warm pita down, add a layer of tzatziki, pile on some meat and tomato and onion, then optionally add more tzatziki and some mint or dill to garnish. Wrap it up and stick it in your face. Boom.
By the way, this pairs magnificently with my Mediterranean Carrot Salad. Try it.


| Prep Time | 45 minutes |
| Cook Time | 1 hour |
| Passive Time | 1 hour |
| Servings |
gyros
|
- 1 lb ground beef
- 1 lb ground lamb
- 1 yellow onion large
- 4 cloves garlic
- 2 tbsp kosher salt
- 2 tsp freshly ground black pepper
- 2 tsp dried oregano
- 1 tsp dried marjoram
- 1 tsp dried rosemary
- 10.6 oz greek yogurt (I used two 5.3-oz containers)
- 8 oz sour cream
- 1.5-2 cucumbers peeled, seeds removed, diced
- 2 lemons juiced
- 1/4 c fresh mint chopped
- 2 tsp fresh dill chopped
- 1 tsp kosher salt
- 3 c all-purpose flour more or less
- 2.5 tsp yeast (see note)
- 1 c water warmed to 110 degrees F
- 1/2 c milk warmed to 110 degrees F
- 1 tbsp olive or vegetable oil
- 1.5 tsp salt
- 1/2 tbsp granulated sugar
- 2 tomatoes sliced
- 1 yellow or white onion sliced thinly
- fresh mint chopped
Ingredients
For the Gyros meat
For the Tzatziki sauce
For the Pita
Toppings
|
|
- Mix the warmed water, warmed milk, yeast, salt, and sugar in the bowl of a stand mixer. If using instant yeast, move on to step 2. If using active dry yeast (or other non-instant varieties), allow the yeast to activate for 10-15 minutes (until bubbly).
- Add the oil and turn the stand mixer, fitted with the dough hook, on the lowest setting. Slowly add the flour 1/2 c at a time until it incorporates. You may not use all of the flour, or you may need a little extra. The dough is ready when it forms a soft ball and pulls away from the sides of the bowl.
- Turn the mixer up to medium speed and let the dough knead for 5 minutes, OR take the dough out and knead by hand on a lightly-floured surface for 4-5 minutes. The dough should be very smooth and elastic.
- Roll the dough into a tight ball and place in a lightly-oiled bowl, then cover with plastic wrap at let sit for an hour, or until doubled in size.
- Remove the dough from the bowl, pound it down to remove the air that's built up, and divide into 8 equal pieces. Roll each piece into a ball and place onto a baking sheet so the dough balls are not touching. Cover with a kitchen towel and let sit for 15 minutes.
- Heat a skillet or griddle to medium-high heat. Using a rolling pin, roll each dough ball into a circular disc approximately 1/8 inch thick.
- Cook the pitas, one at a time, for approximately 60 seconds per side. Do not pop any air bubbles that appear; simply flip the pita and let it deflate when removed from heat.
- Serve immediately, or store in an airtight container and reheat before serving.
- Mix beef, lamb, salt, pepper, oregano, marjoram, and rosemary until well incorporated. Cover and store in the refrigerator for at least an hour.
- After an hour, preheat the oven to 300 degrees F.
- Place onion and garlic into a food processor and mix into a paste. Add the meat mixture and process until the meat turns into a smooth paste.
- Pour the mixture out onto a baking sheet lined with foil. Divide in half, and form each half into a rectangular loaf about 1/2 inch thick.
- Cook at 300 degrees F for 30 minutes.
- Carefully flip the loaves over and cook another 20 minutes. Confirm the internal temperature has reached at least 165 degrees F.
- Without slicing, let the loaves rest on a cutting board for 20 minutes, then thinly slice the meat.
- Set your oven's broiler to high, or heat a skillet over high heat on the stove. Broil the strips of meat for 3 minutes per side, or fry for 2-3 minutes per side until crispy.
- To make the tzatziki, mix all ingredients together until well incorporated. Let sit in the refrigerator for 15 minutes if possible before serving.
- Spread some tzatziki in the center of a warm pita, and top with meat, sliced onions, and sliced tomatoes. Top with more tzatziki and fresh mint, if desired.
Hi, I followed a link to your blog and I like this post a whole lot. You give some compelling arguments. Where can I learn more?